
Setting up ohmyposh on VSCode, Terminal & Tabby on macOS
Table of Contents
Introduction
Ohmyposh is a custom prompt engine for any shell. It allows you to customise your prompt and make it look pretty! It is cross platform and works on Mac, Windows and Linux.
I had some issues getting it set up, primarily that I couldn’t get the images to show. It is a bit of a faff to set up, but it’s worth the effort. What’s really neat is once it is set up, it is available on all terminals and the configuration is consistent across all of them. The install approach will naturally differ depending on your operating system however, I expect that the configuration steps will be the same.
What does it look like?
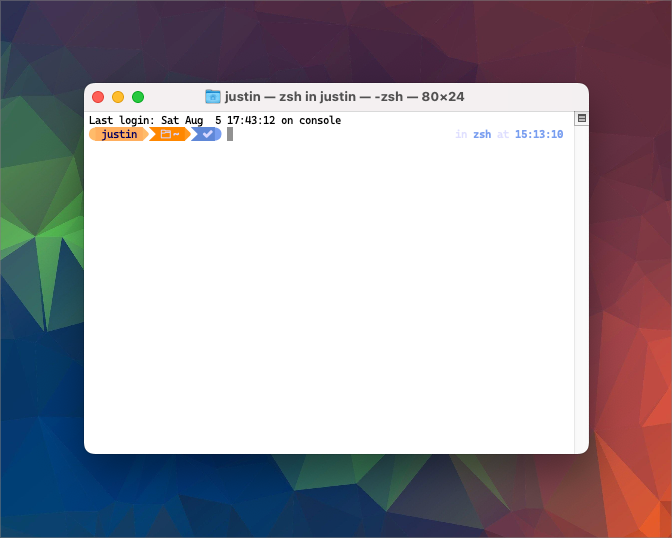
The default prompt consists of a light orange segment that shows the user, a darker orange segment that has a folder icon and the name of the directory you are in and a blue segment with a tick that means that the previous command was successful (it will become a red block with a cross if the previous command was invalid).
Here it is in Terminal:
Here it is in my preferred terminal Tabby:

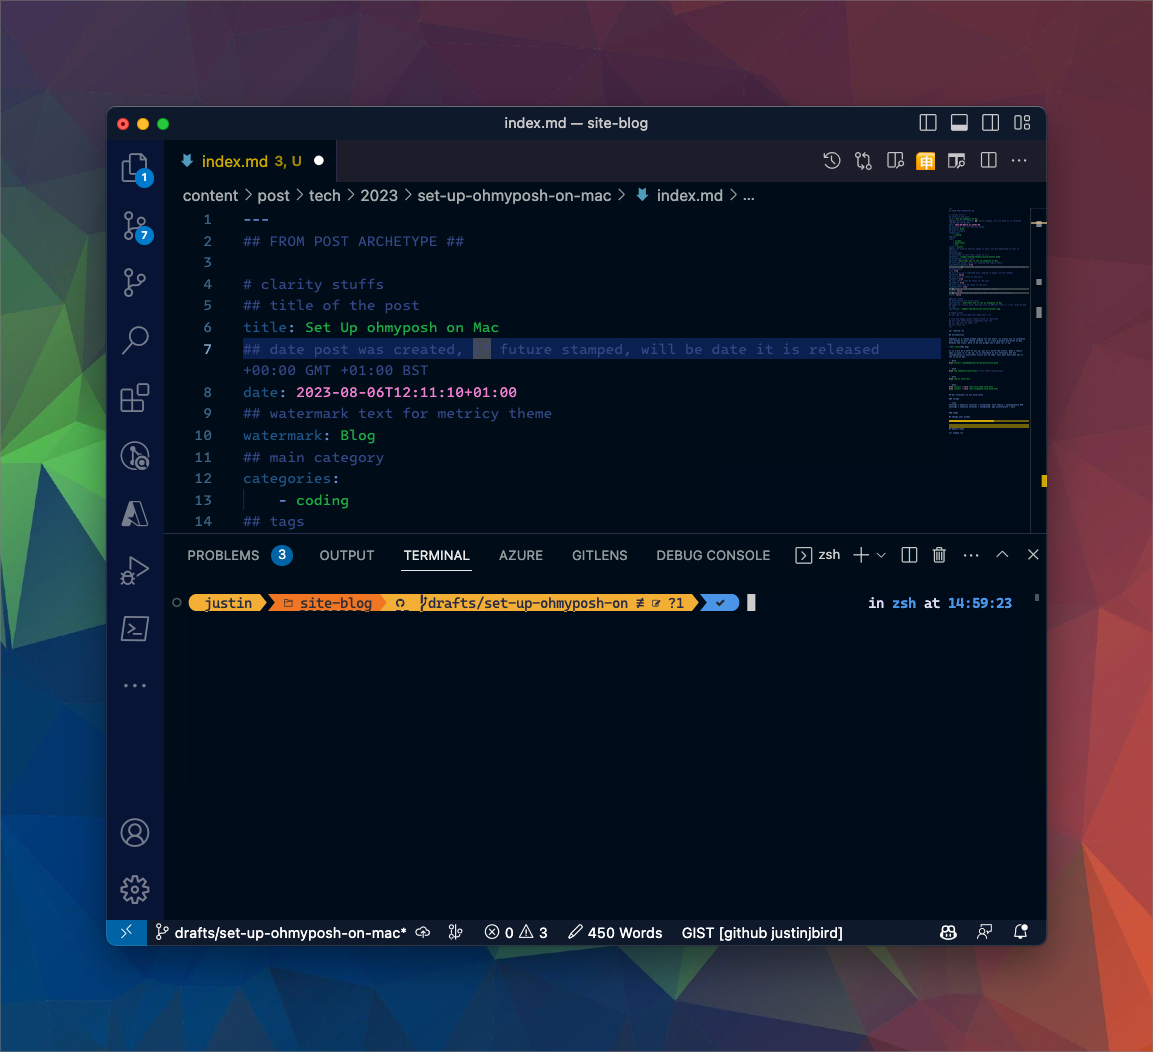
Here it is in vscode:
Install ohmyposh
Full details on the ohmyposh site. Installing via command line is the simplest way;
# mac
brew install jandedobbeleer/oh-my-posh/oh-my-posh
# windows
winget winget install JanDeDobbeleer.OhMyPosh -s winget
The next step is to install a nerd font. Nerd fonts are fonts that have additional glyphs that are used by ohmyposh to display icons.
Previous Install Fonts steps
10/12/2023 note: I have run through this today to install ohmyposh on Windows Vm and discovered that there is a simpler way to install fonts and it works across platform! If you want to manually install read on, otherwise skip to next section.
To prepare brew, you need to run the following command once;
brew tap homebrew/cask-fonts # this only needs running once
There are many nerd fonts available, you can search for them using this command;
brew search nerd-font
This will return a list of fonts that you can install;
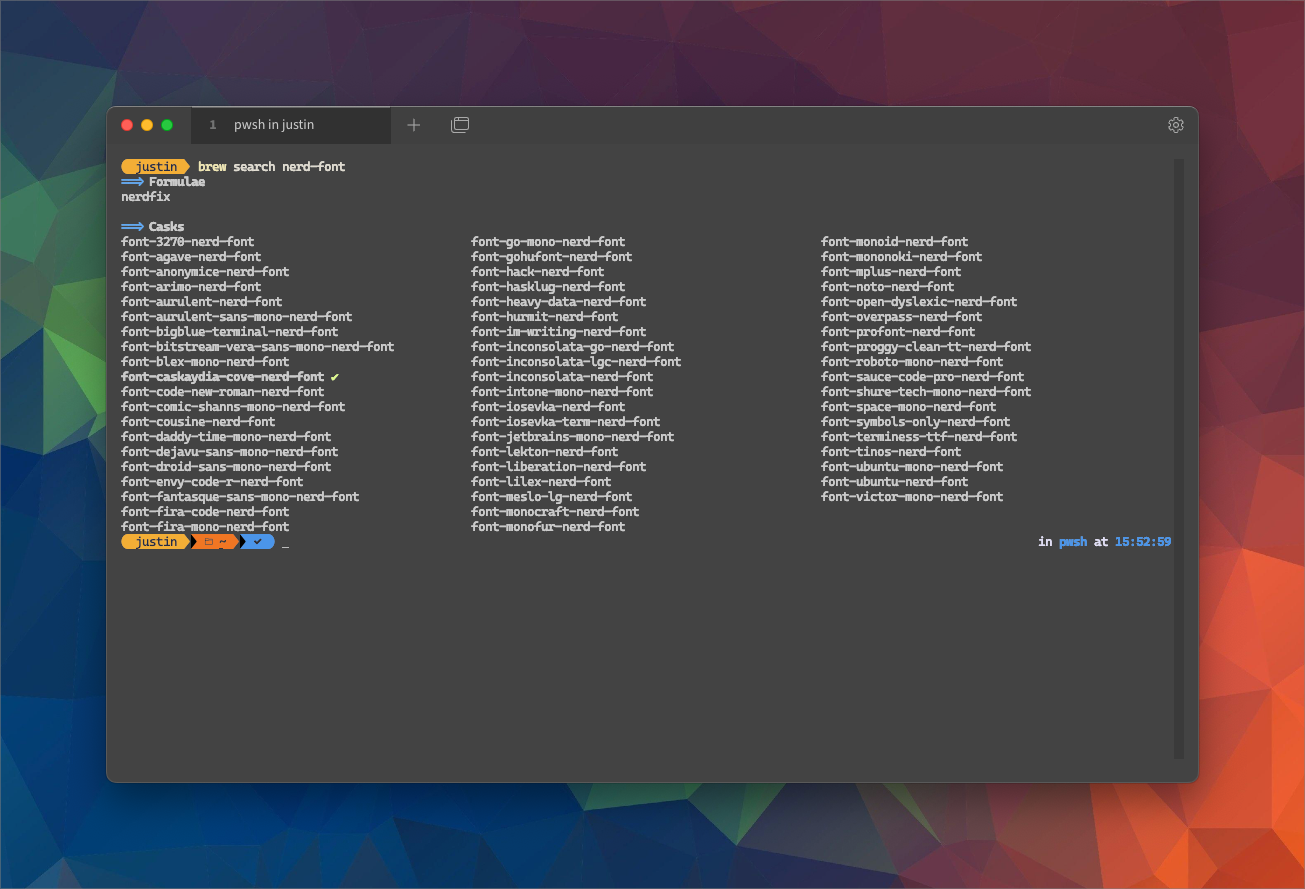
Ohmyposh recommends Meslo LGM NF, but I prefer CaskaydiaCove. To install it, run the following command;
brew install --cask font-caskaydia-cove-nerd-font
So now you have ohmyposh installed and a nerd font installed, next step is to configure the terminals to use the nerd font you’ve installed…
Install fonts
You can install fonts via ohmyposh:
oh-my-posh font install
This will download and install your chosen font. I have installed CascadiaCode the output confirms the fonts that have been installed.

Set terminals to use nerd fonts
Terminal
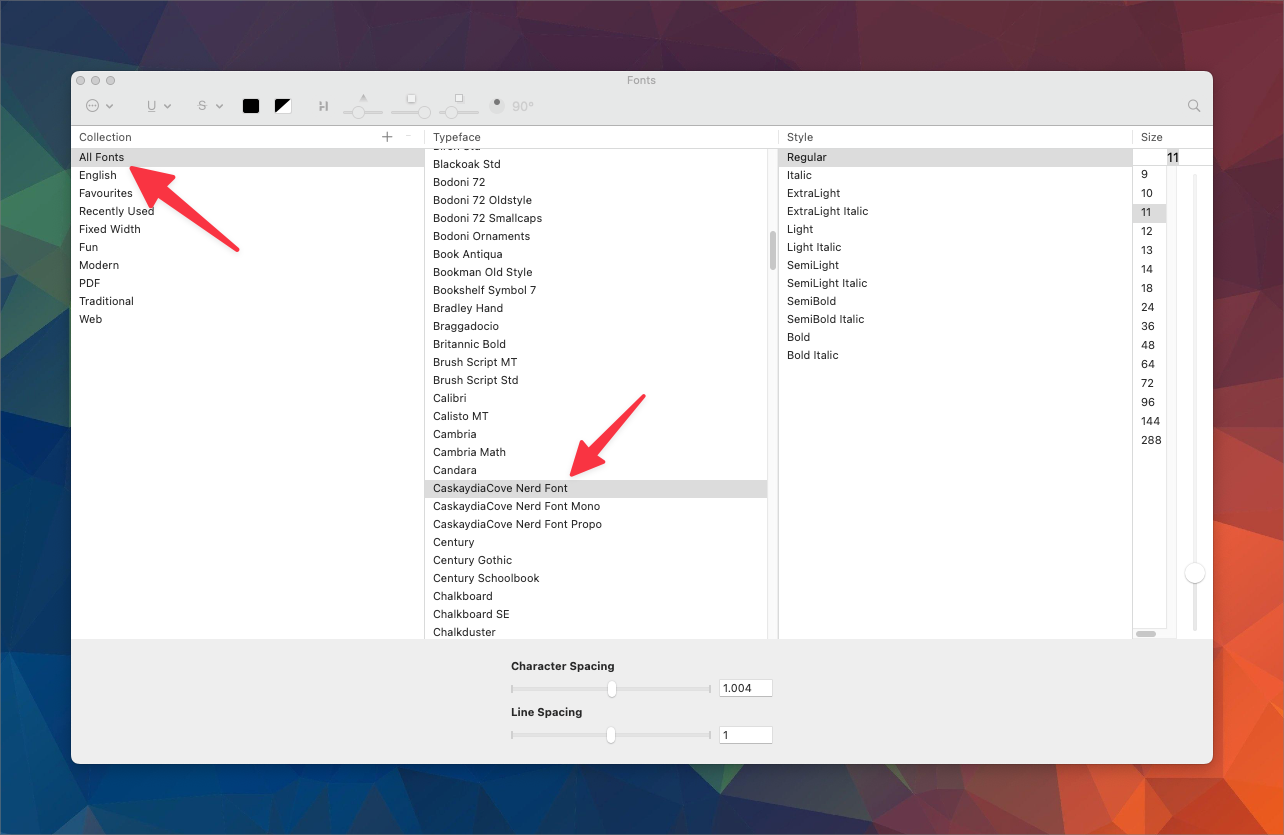
Open terminal and go to preferences. Select the profiles tab and in the text section click the change button next to the Font selection:

Another window will appear with a list of fonts. If you click on All Fonts and from there you can choose CaskaydiaCove Nerd Font:
vscode
Open the settings window and search for the term familyfont. The option to change is Terminal > Integrated: Font Family and you need to change it to CaskaydiaCove NFM;
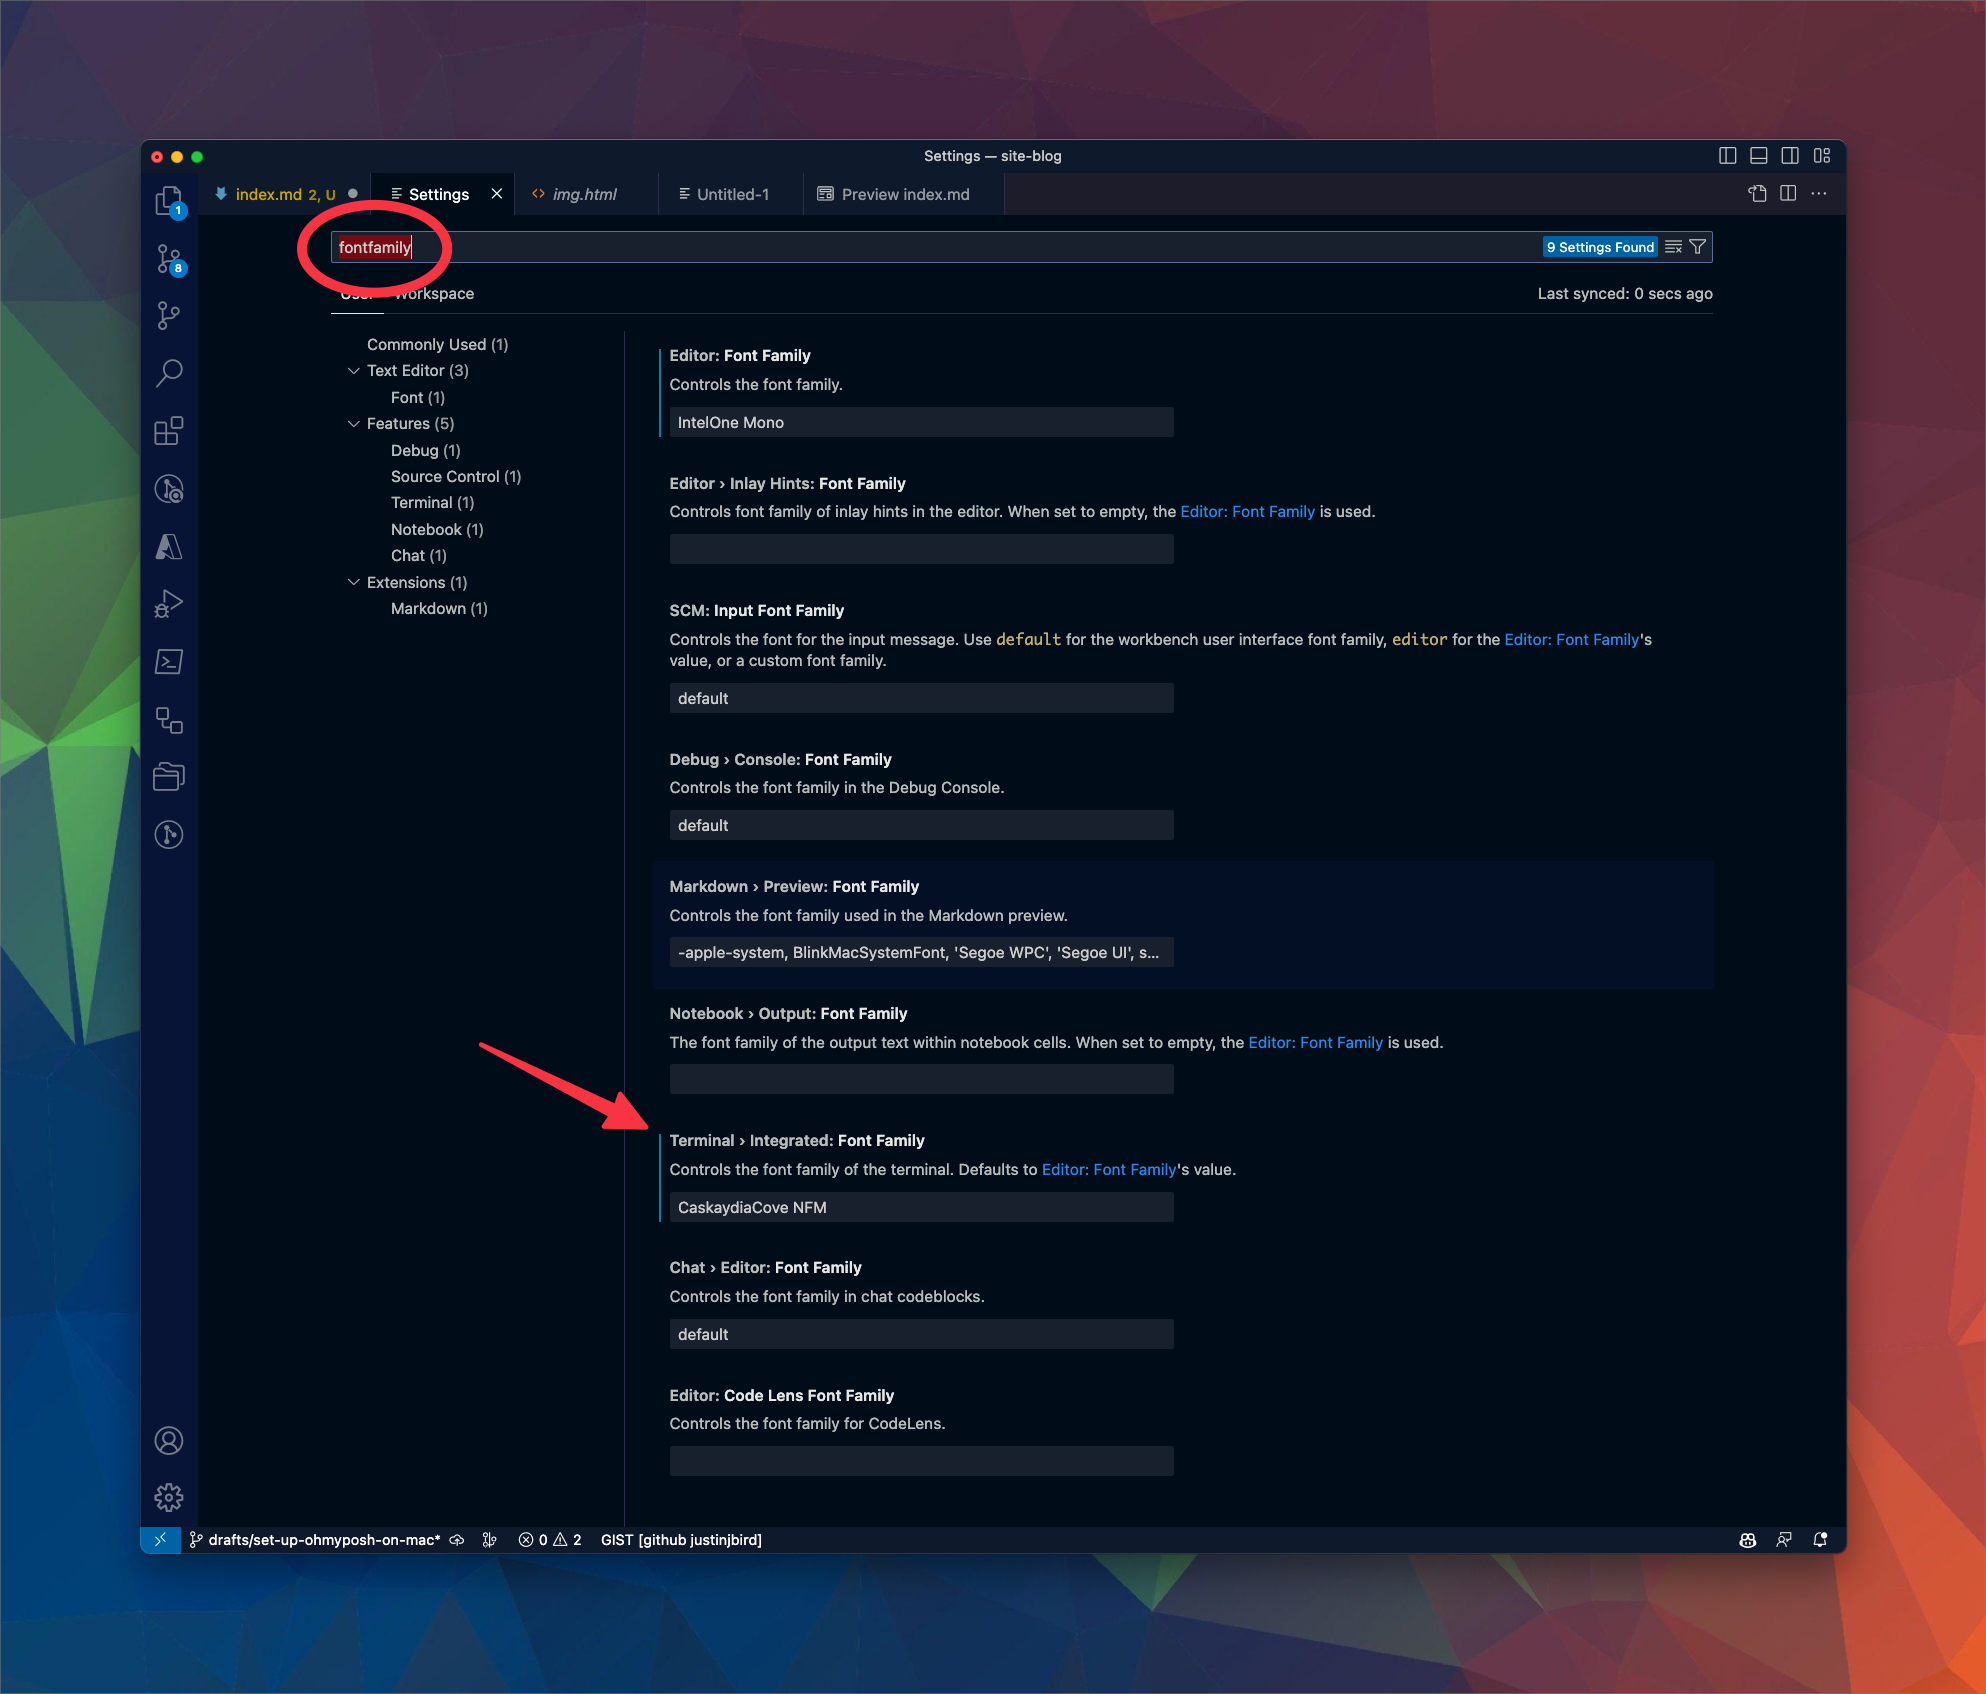
Note that this was the primary reason that the glyphs weren’t working. From what I understand, there are specific versions that are going to work with vscode, make sure that you have correctly entered the version as written above.
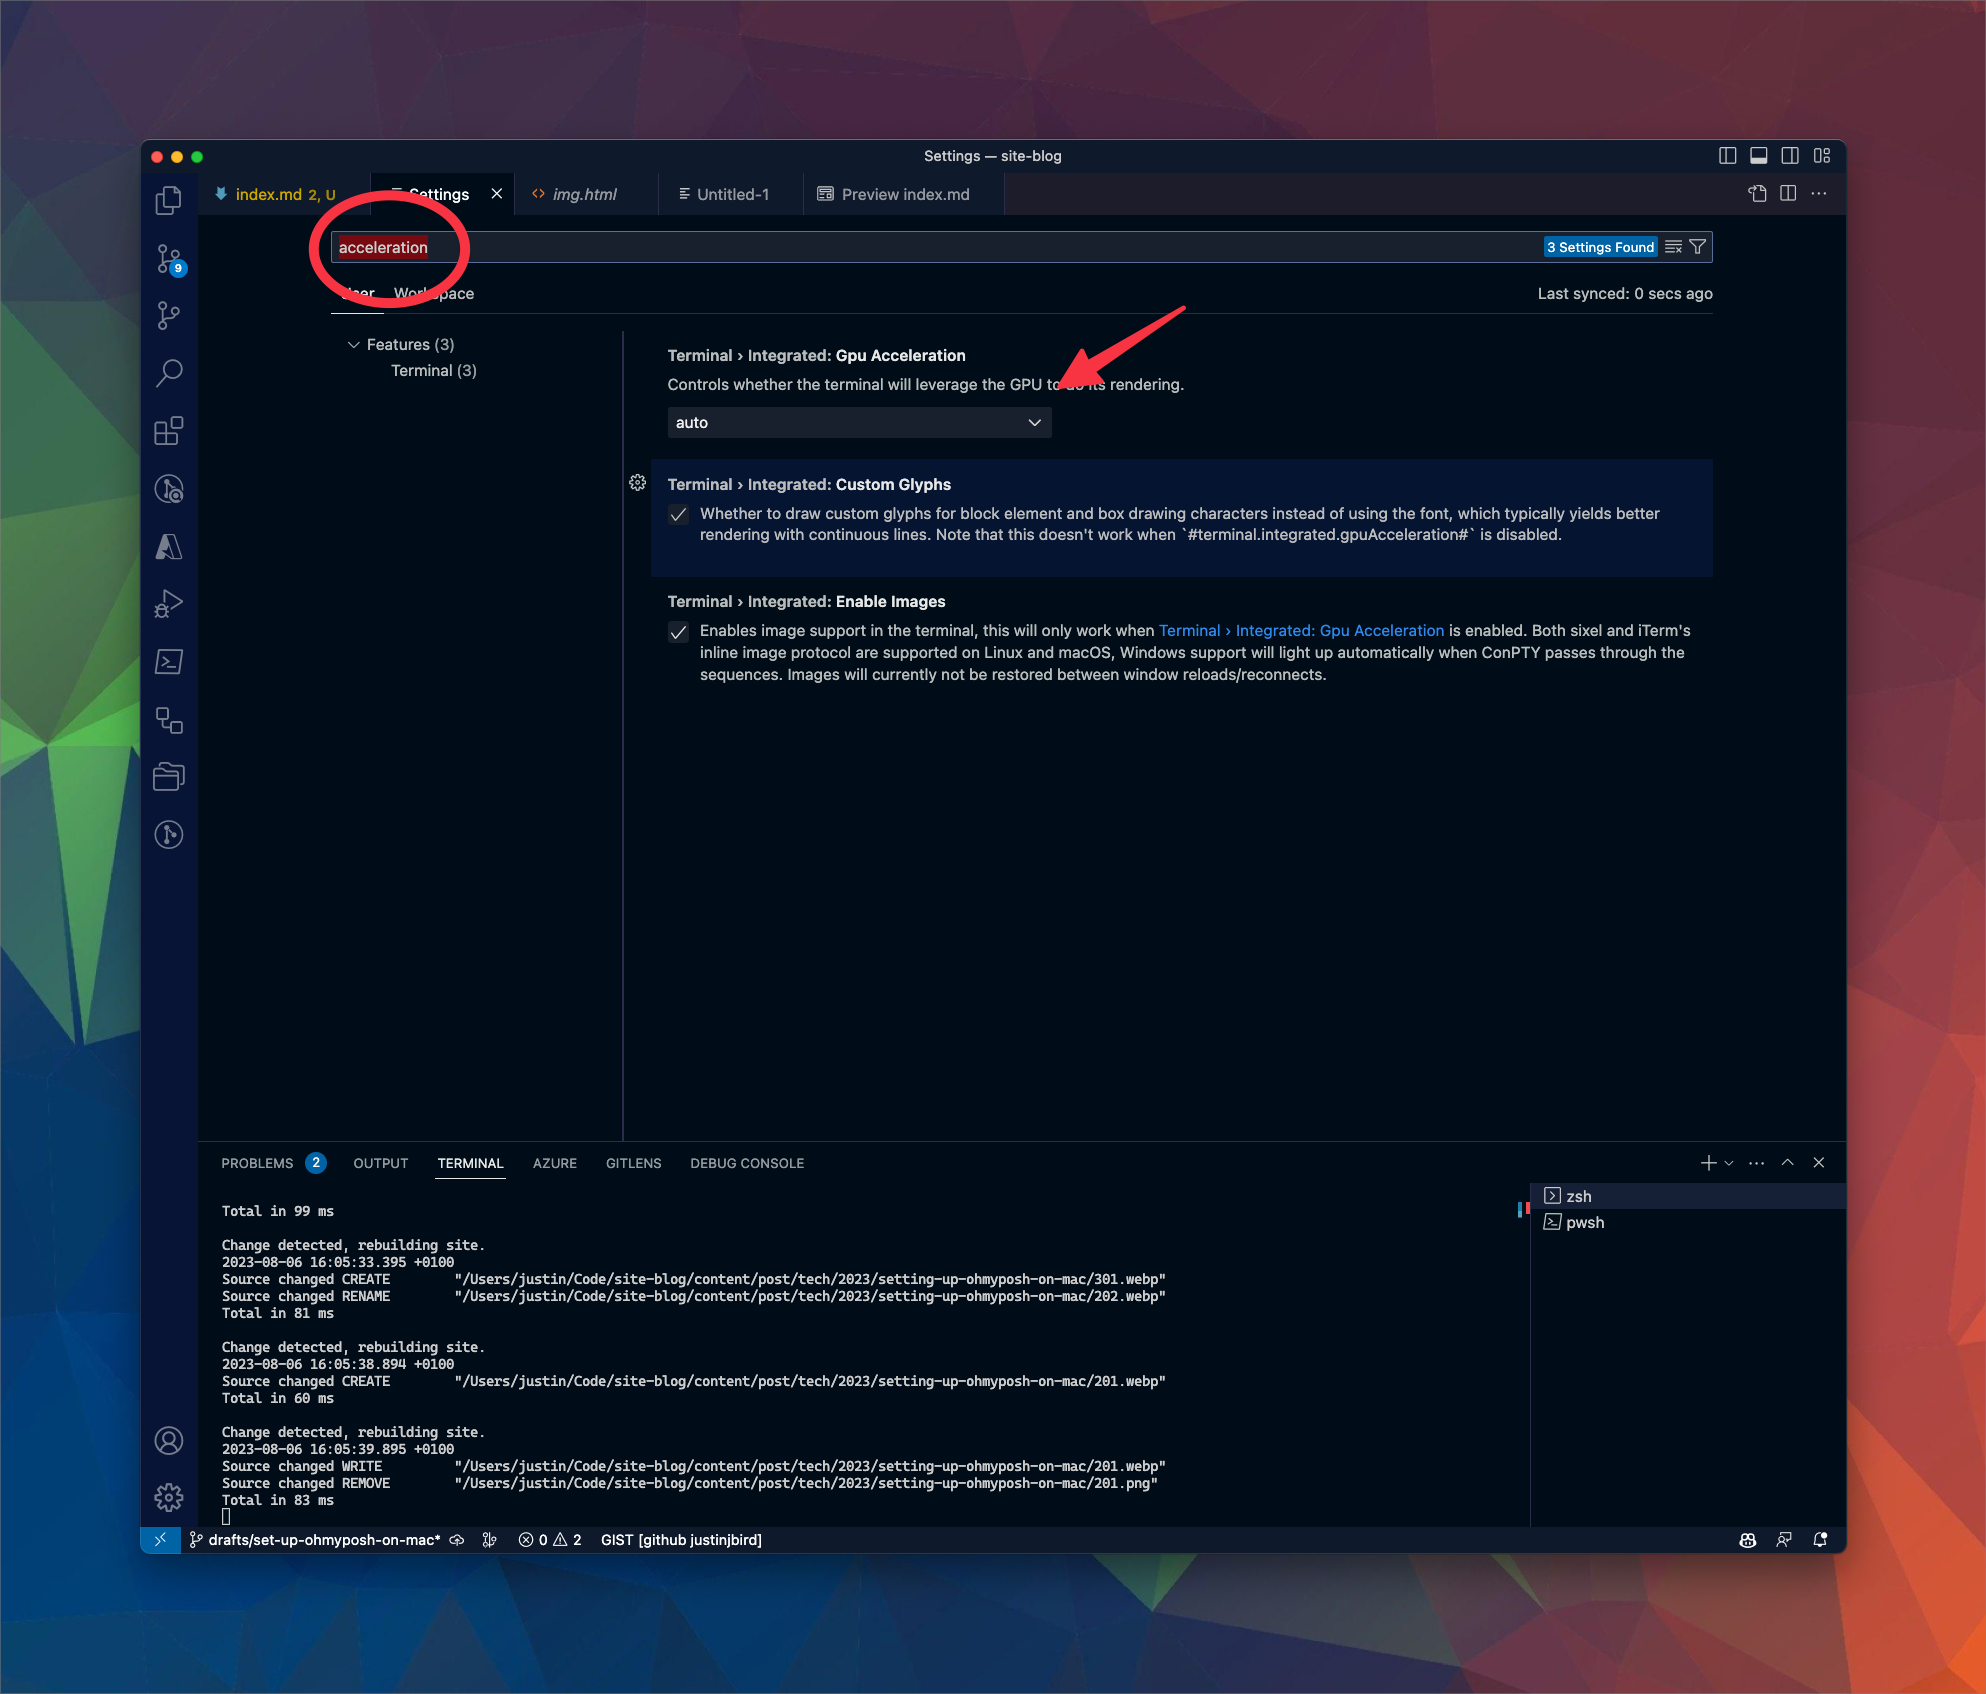
I don’t think you have to set the GPU acceleration option. It was suggested in one of the troubleshooting posts. The description of the option says “Controls whether the terminal will leverage the GPU to do its rendering” so I have set it to auto either way. You can find the option by searching for the term “acceleration” in the search bar. The option is Terminal > Integrated: Gpu Acceleration;
Tabby
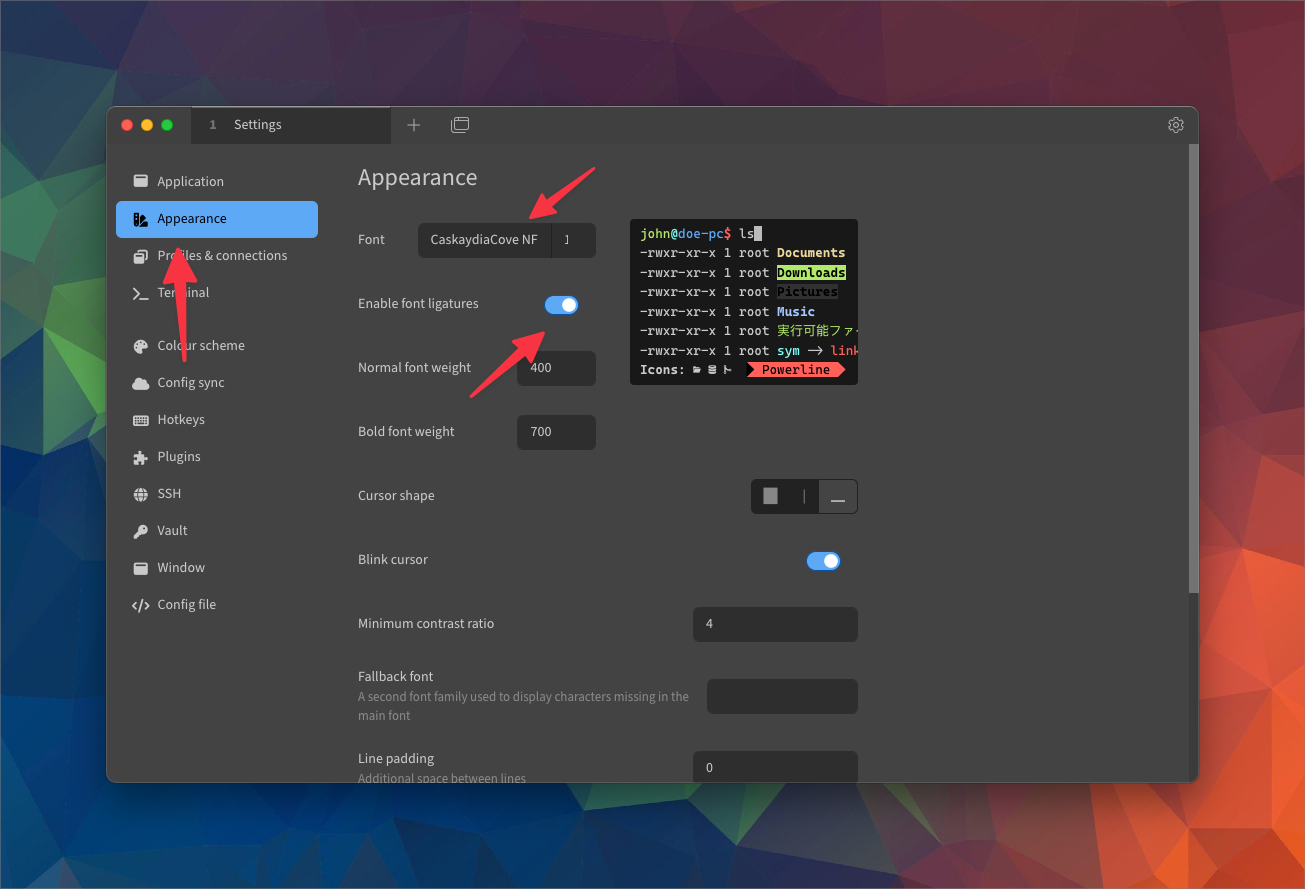
Open preferences in Tabby and go to the appearance section, set the font to CaskaydiaCove NFM and turn on Enable font ligatures;
Configure your prompt
Next step is to configure your prompt(s). This differs depending on which shell(s) you use, refer to the ohmyposh documentation for details. Choose which shell(s) you want to configure and follow the instructions.
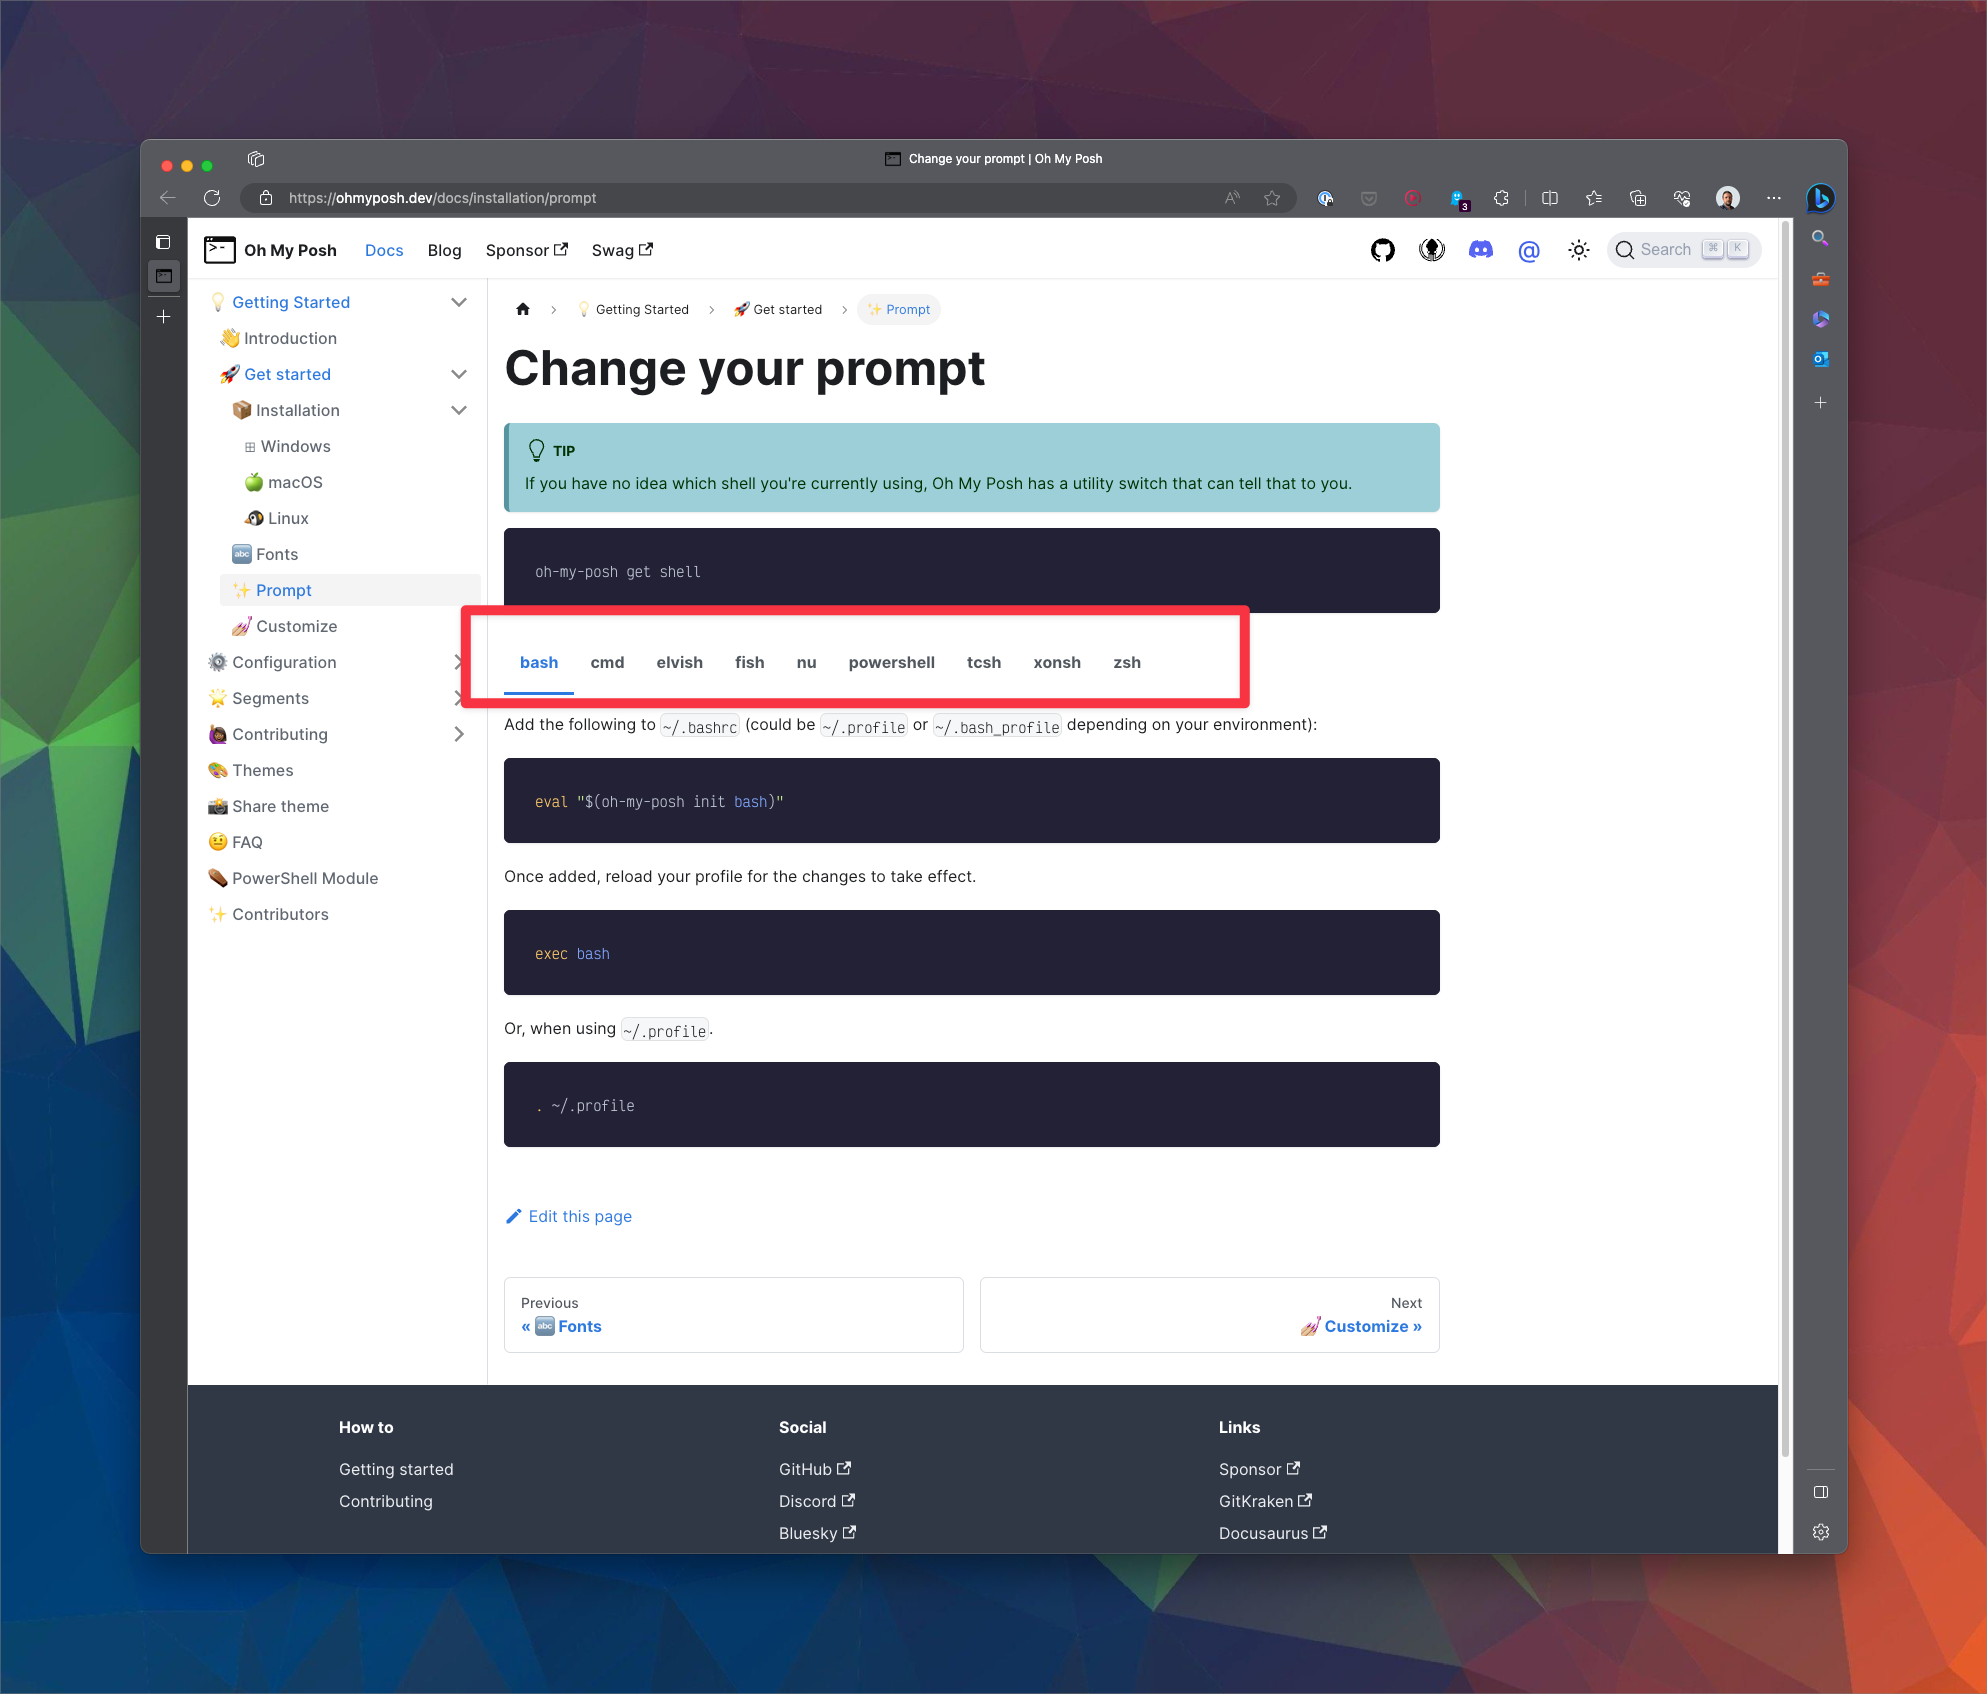
Once you have run through the prompt guidance the ohmyprompt theme should appear in any terminal you’ve configured. Note that you may need to restart the application to get the prompt to appear.
What next?
Now you have ohmyposh installed and configured, you can stop there. But you can pick a different theme…you can see them all on the ohmyposh site. You can even have a bash at making your own!

#mtfbwy