
How to Set Up Twitter Developer API for BluebirdPS
- coding
- 2022-11-23
- 3 minutes to read
This post is over 12 months old, that's a long time in tech! Please be mindful of that when reading this post as it could be outdated. I try to keep on top of changes where possible. I try to keep things up to date, but if you think something needs updating, please let me know in the comments.
Intro
I have been doing some testing of scripts to help the community find Twitter members on Mastodon for Chrissy LeMaire . You can find those scripts here .
Chrissy has done all the hard work and I have been testing it :) The scripts make use of BluebirdPS which is a Twitter automation client for Powershell. In order to get it working, I had to register for the Twitter developer network. This took me less than 10 minutes set up, seems like there is no-one left to vet applications!
This post describes the steps needed to configure your profile and the powershell module. I have already registered my personal twitter profile, so examples below are from my user group twitter profile.
Set up Twitter Developer account
In order to use BluebirdPS we need to set up a Twitter Developer account and generate a set of keys that will allow it to use the Twitter API. The module requires the following keys / secrets;
- API Key
- API Key Secret
- Access Token
- Access Token Secret
So first and foremost, you need to set up a Twitter Developer account then generate the required keys. You can register for the developer portal here . You need to confirm some basic info and agree to not share content with certain governments. Selecting Exploring the API saw me auto-approved, seems approval has taken longer for other folks so maybe stick with this option.
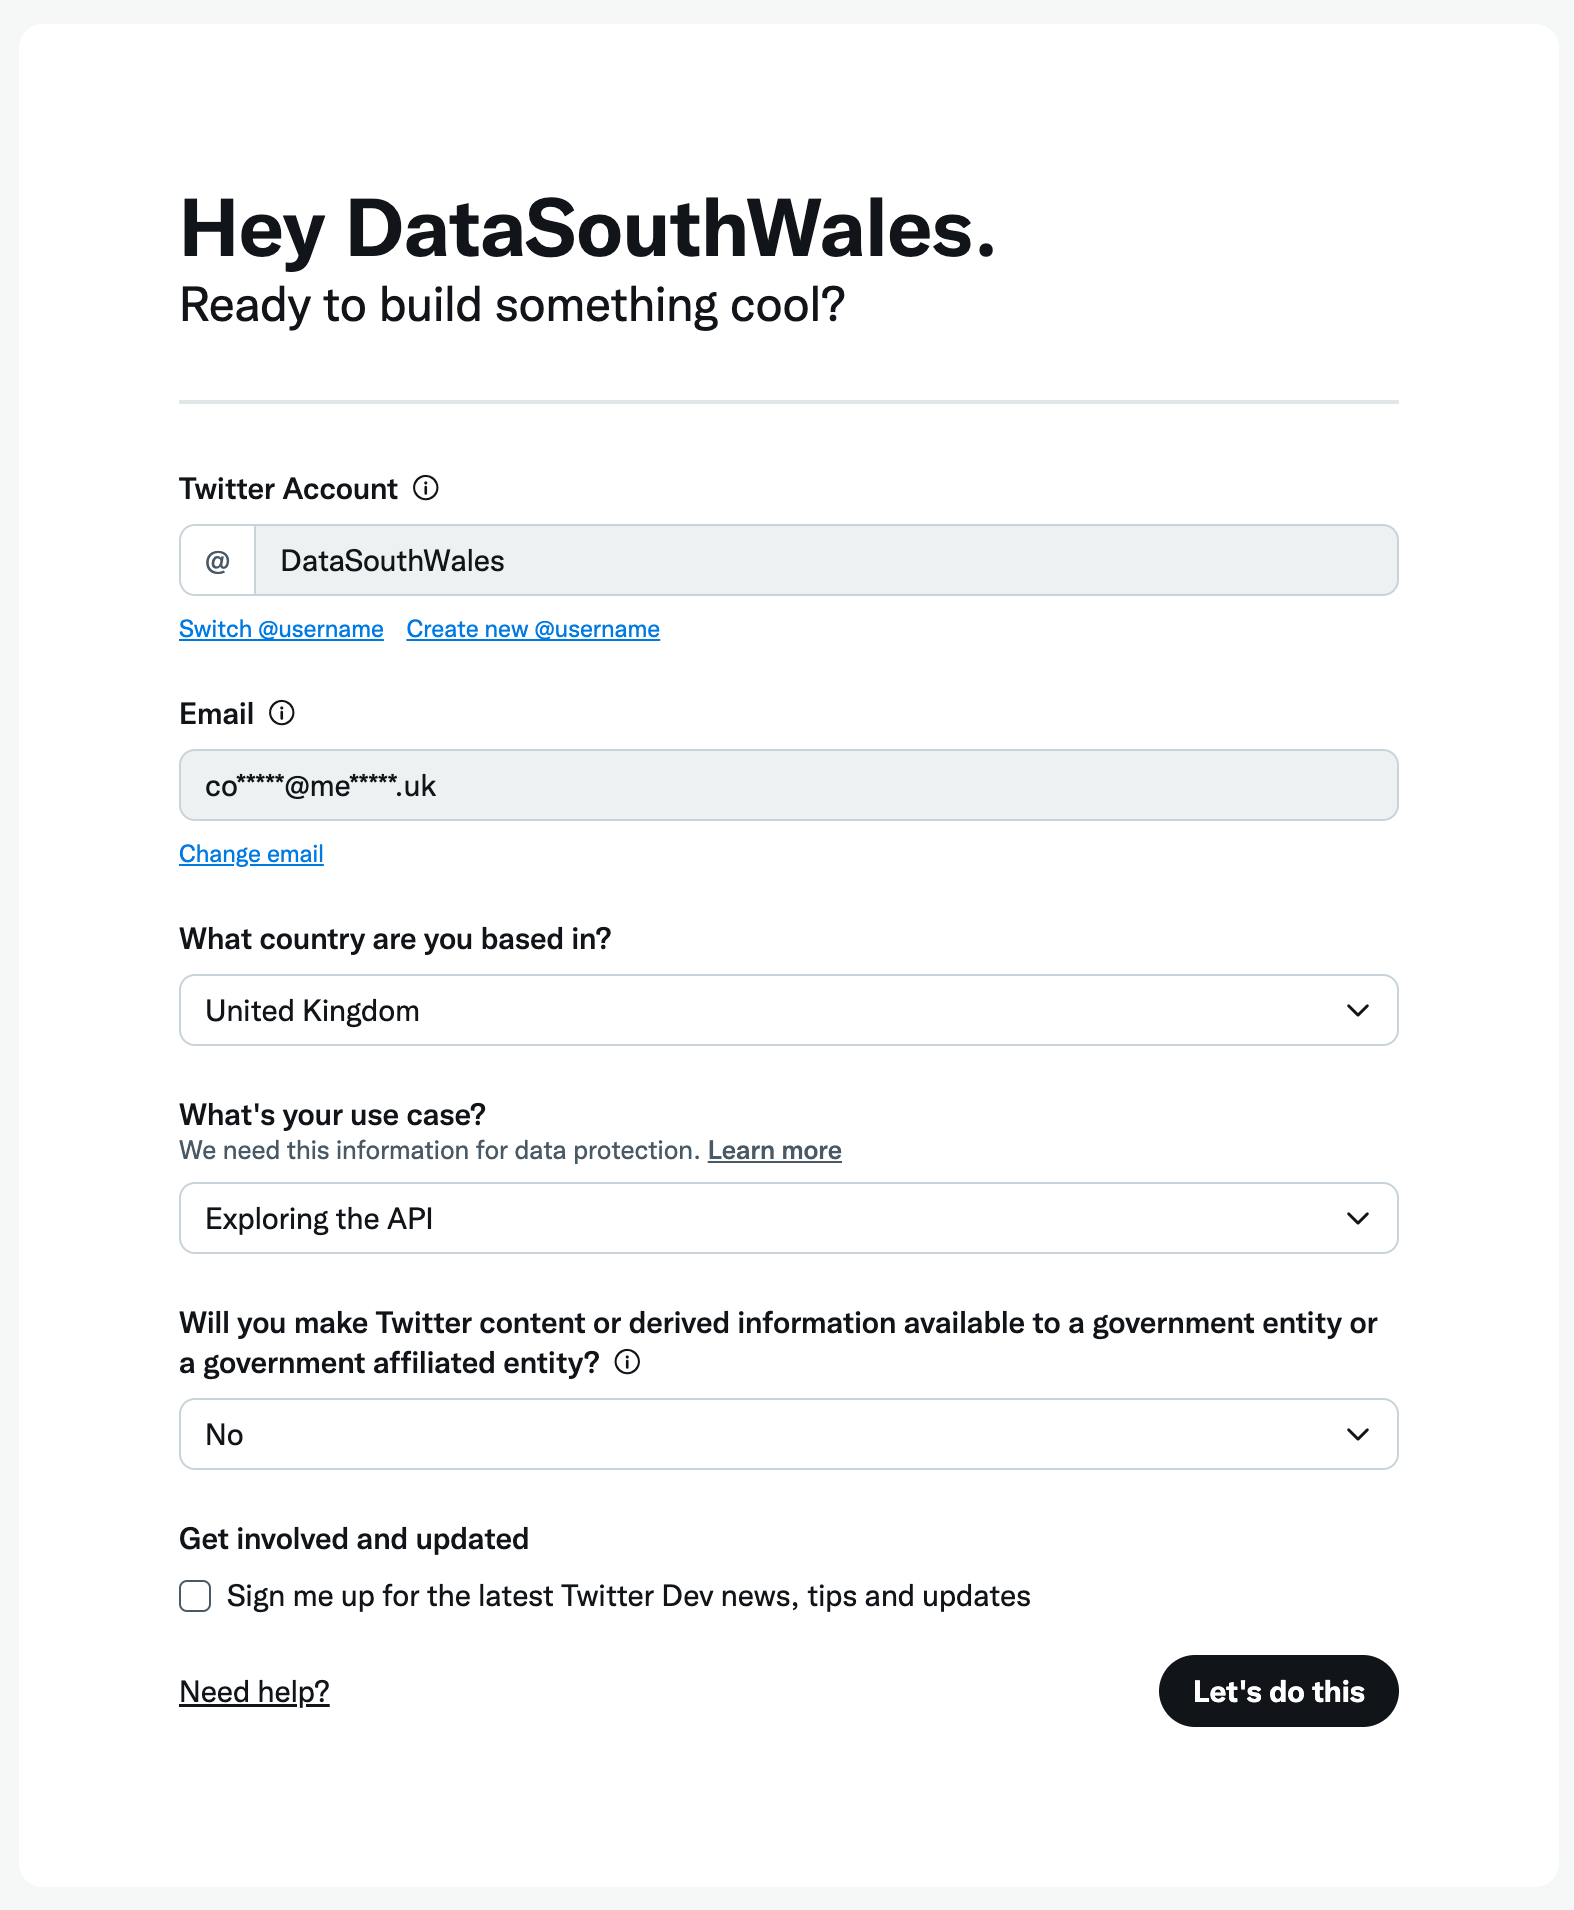
When you hit let’s do this you will be asked to agree to T&Cs. Once you’ve agreed, you will be asked to verify your email address.
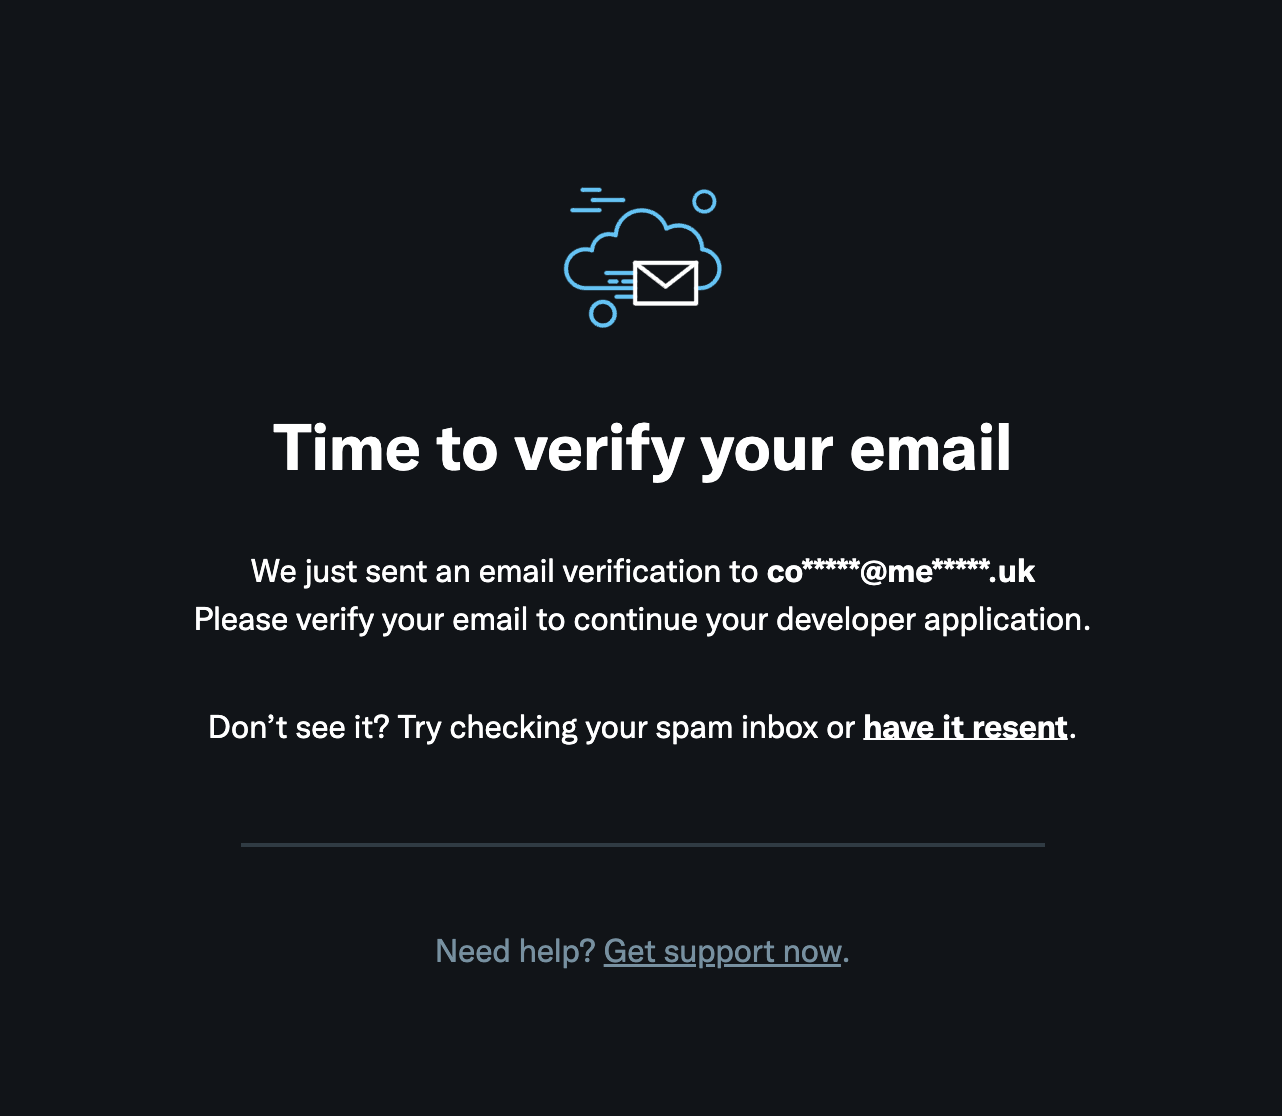
Once you have verified your email address, you will see a welcome screen, where you will be asked to name your app, it needs to be unique.
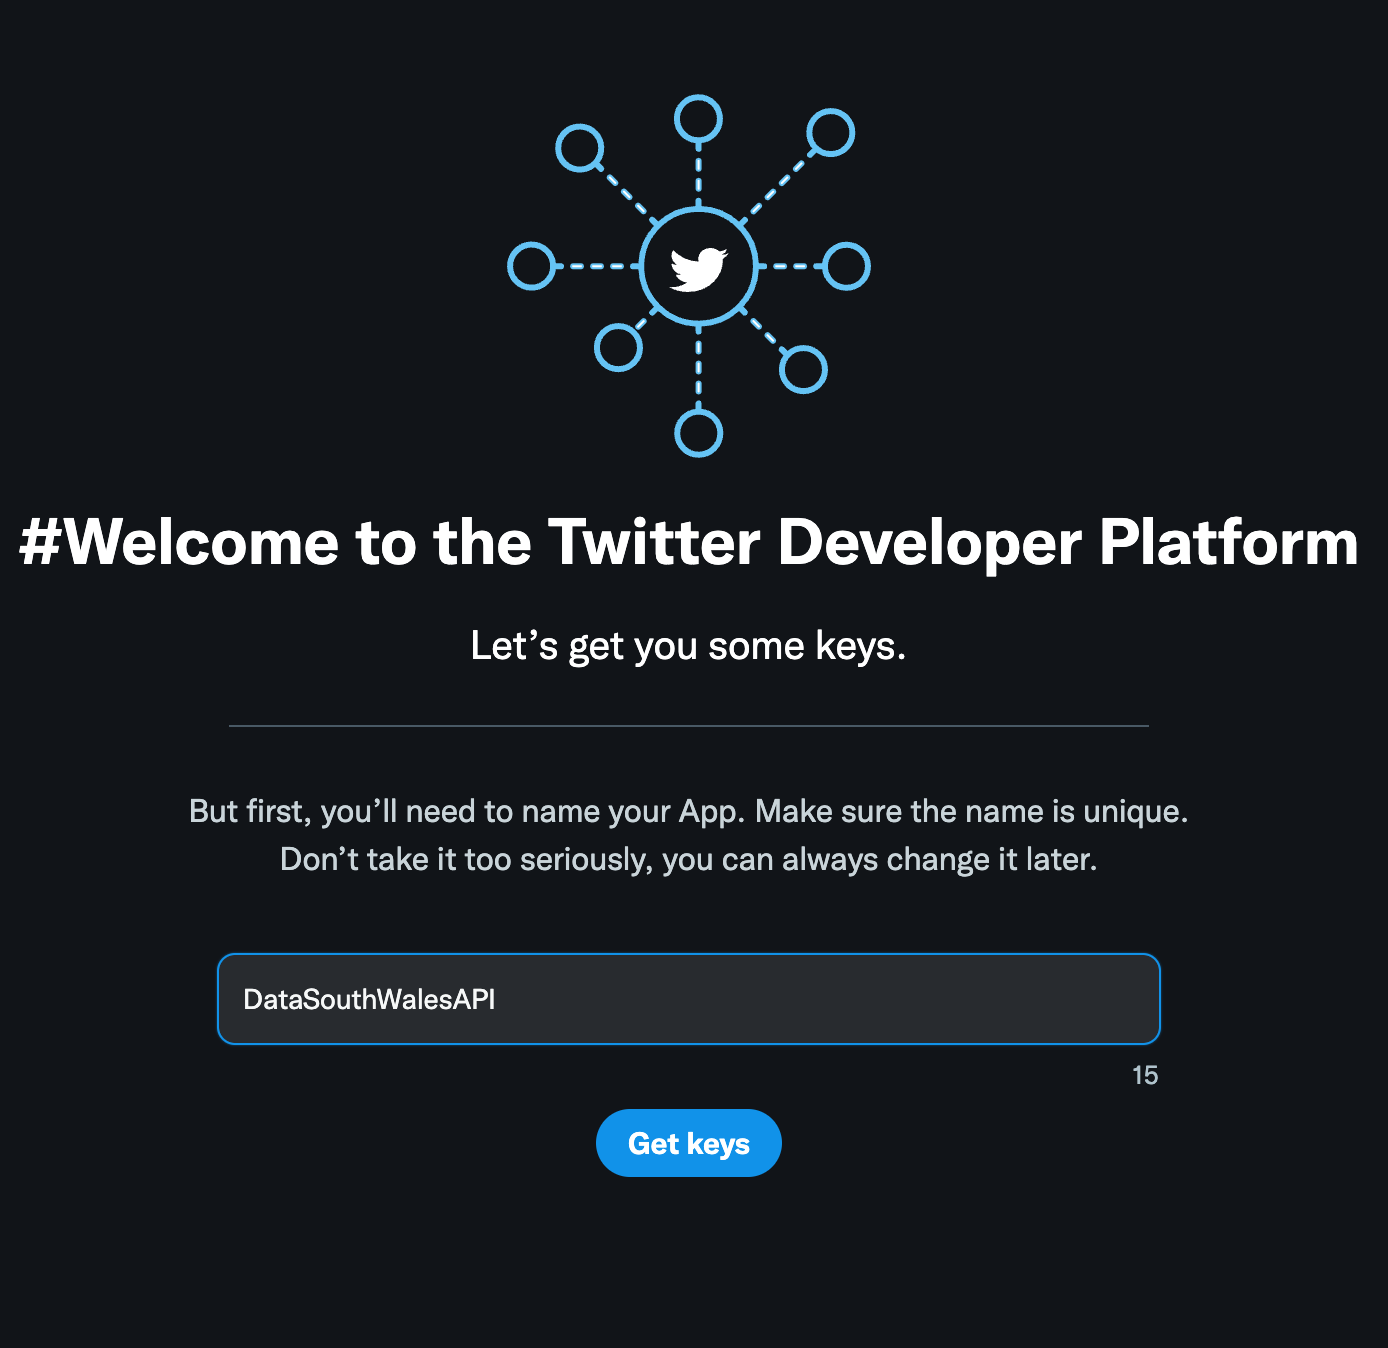
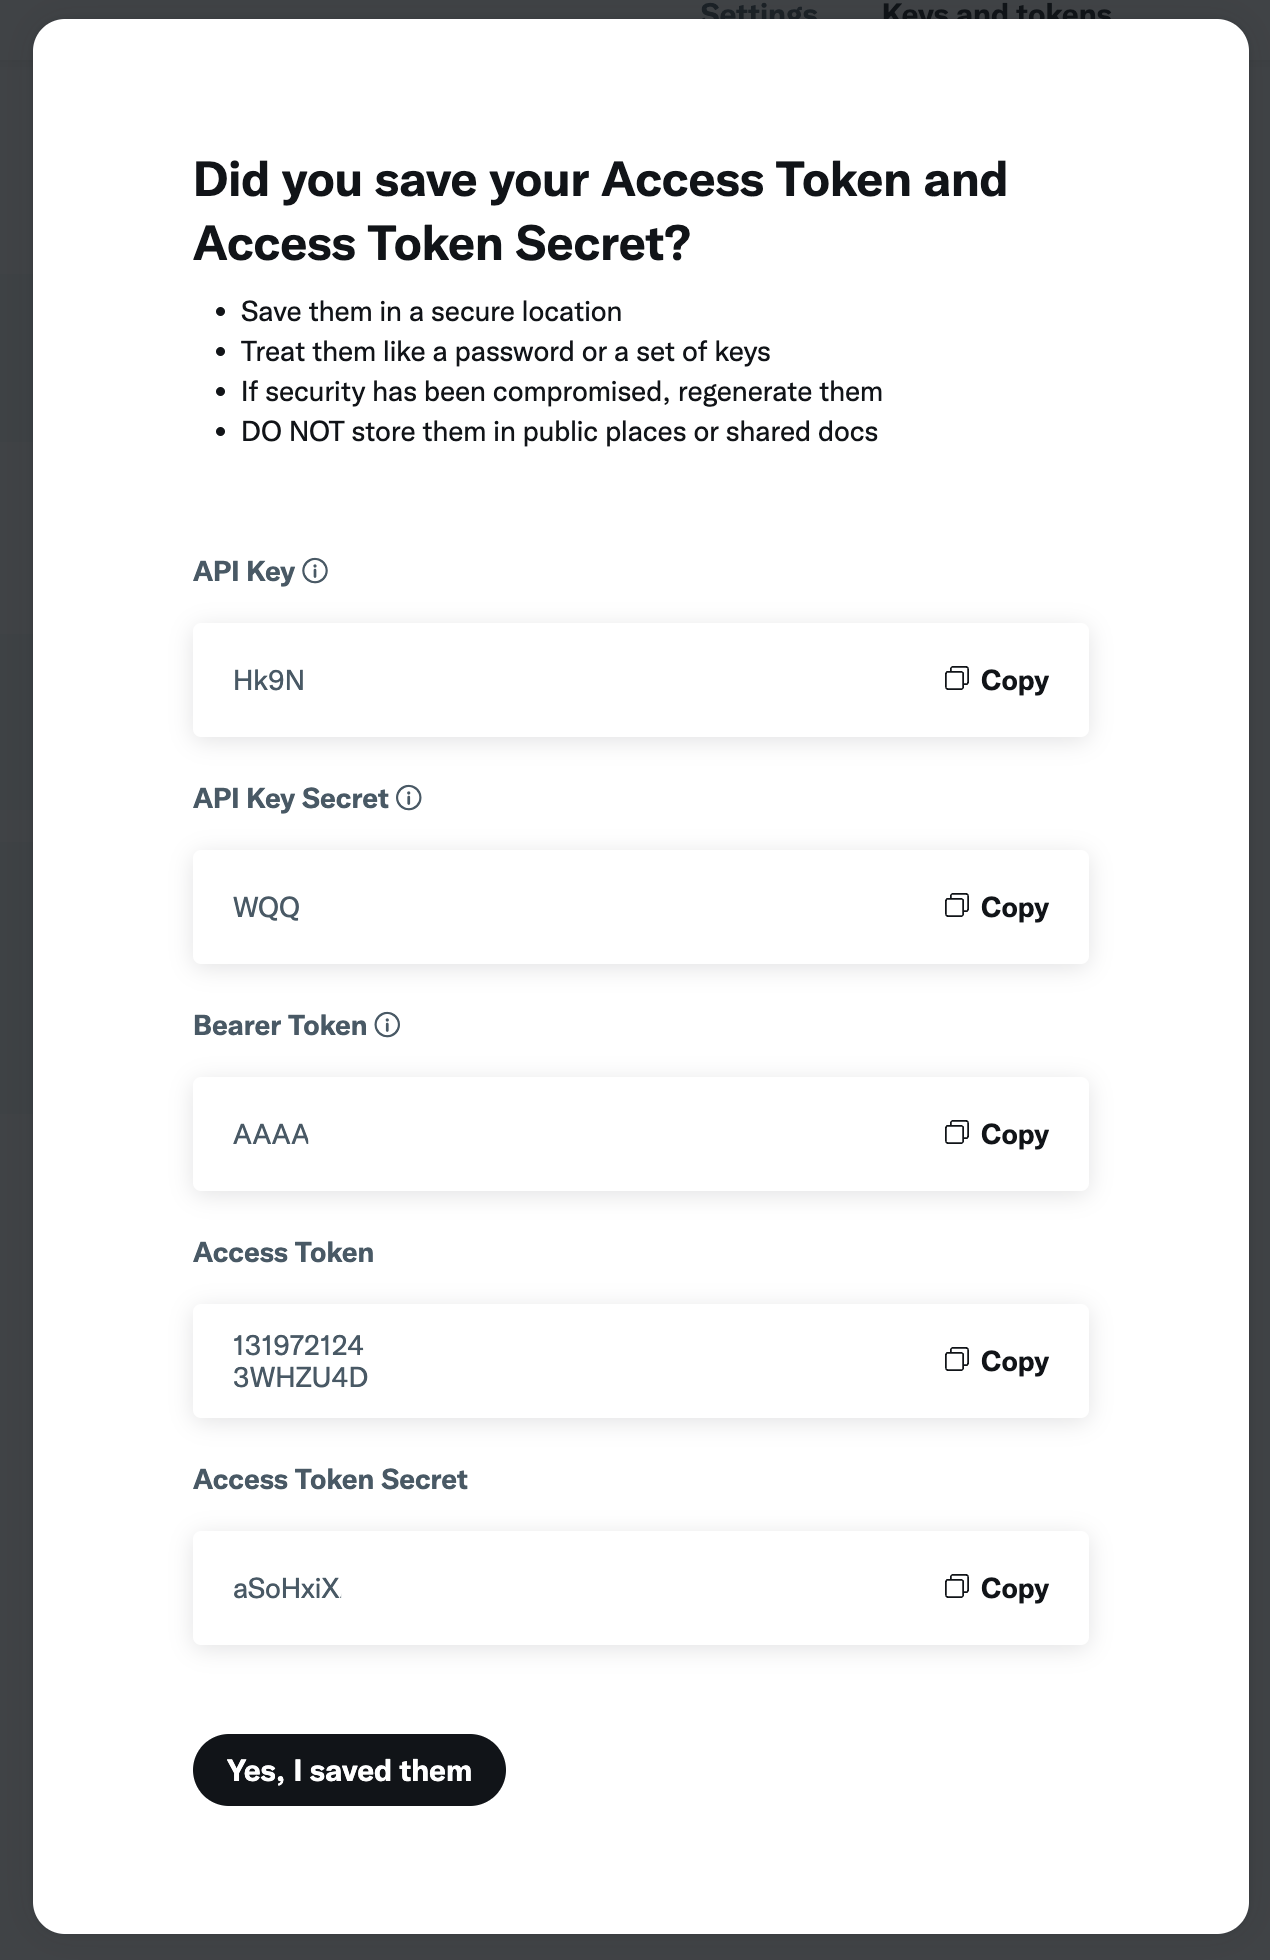
You will then be supplied a set of keys, these are required to configure BluebirdPS to use the Twitter API, so make a note of them for later. These keys are for your use only and should be kept secure.
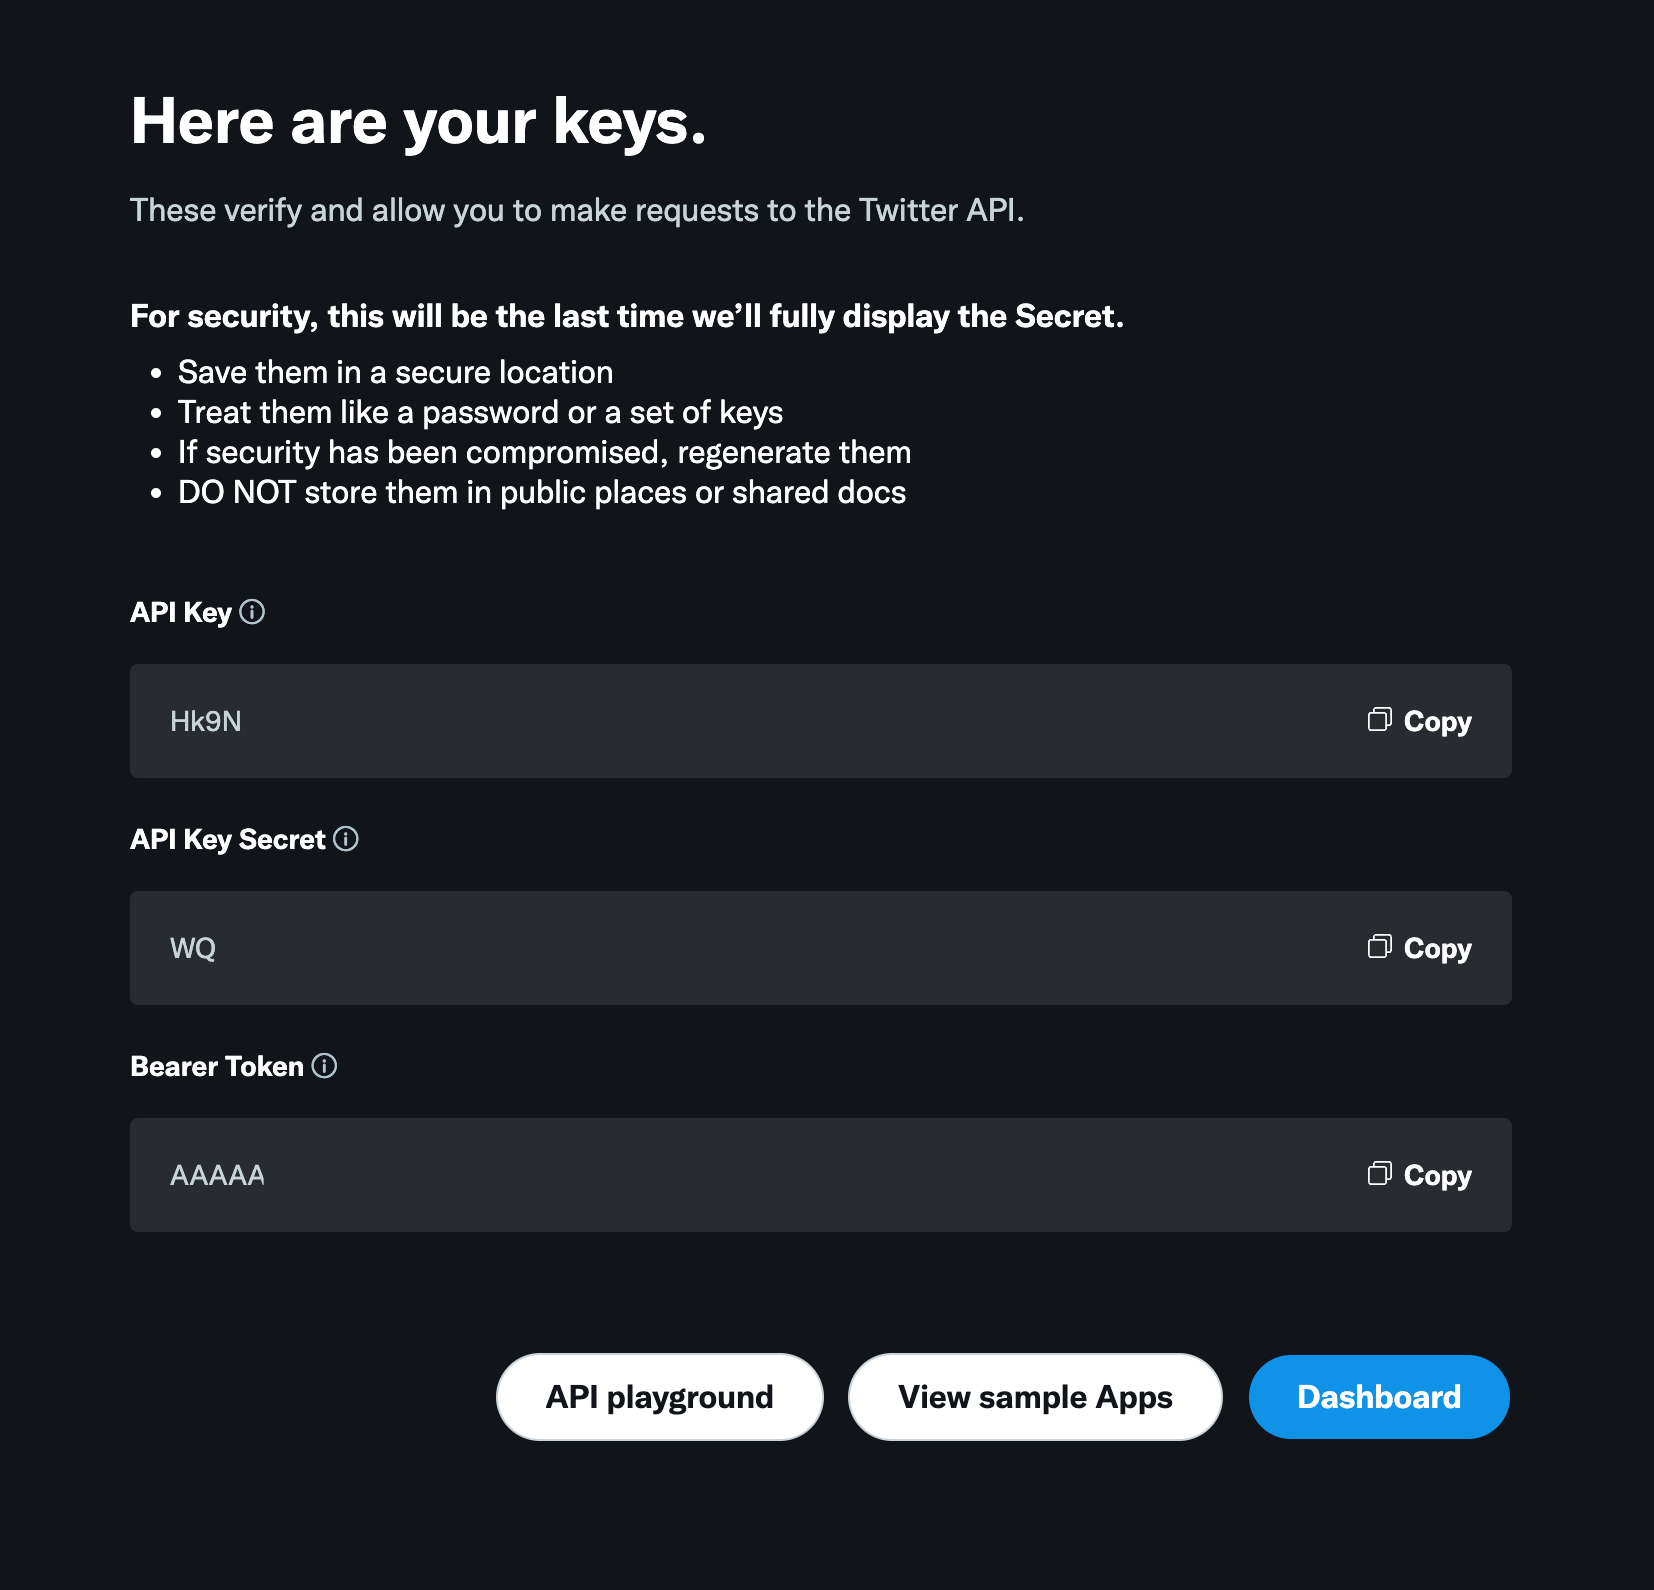
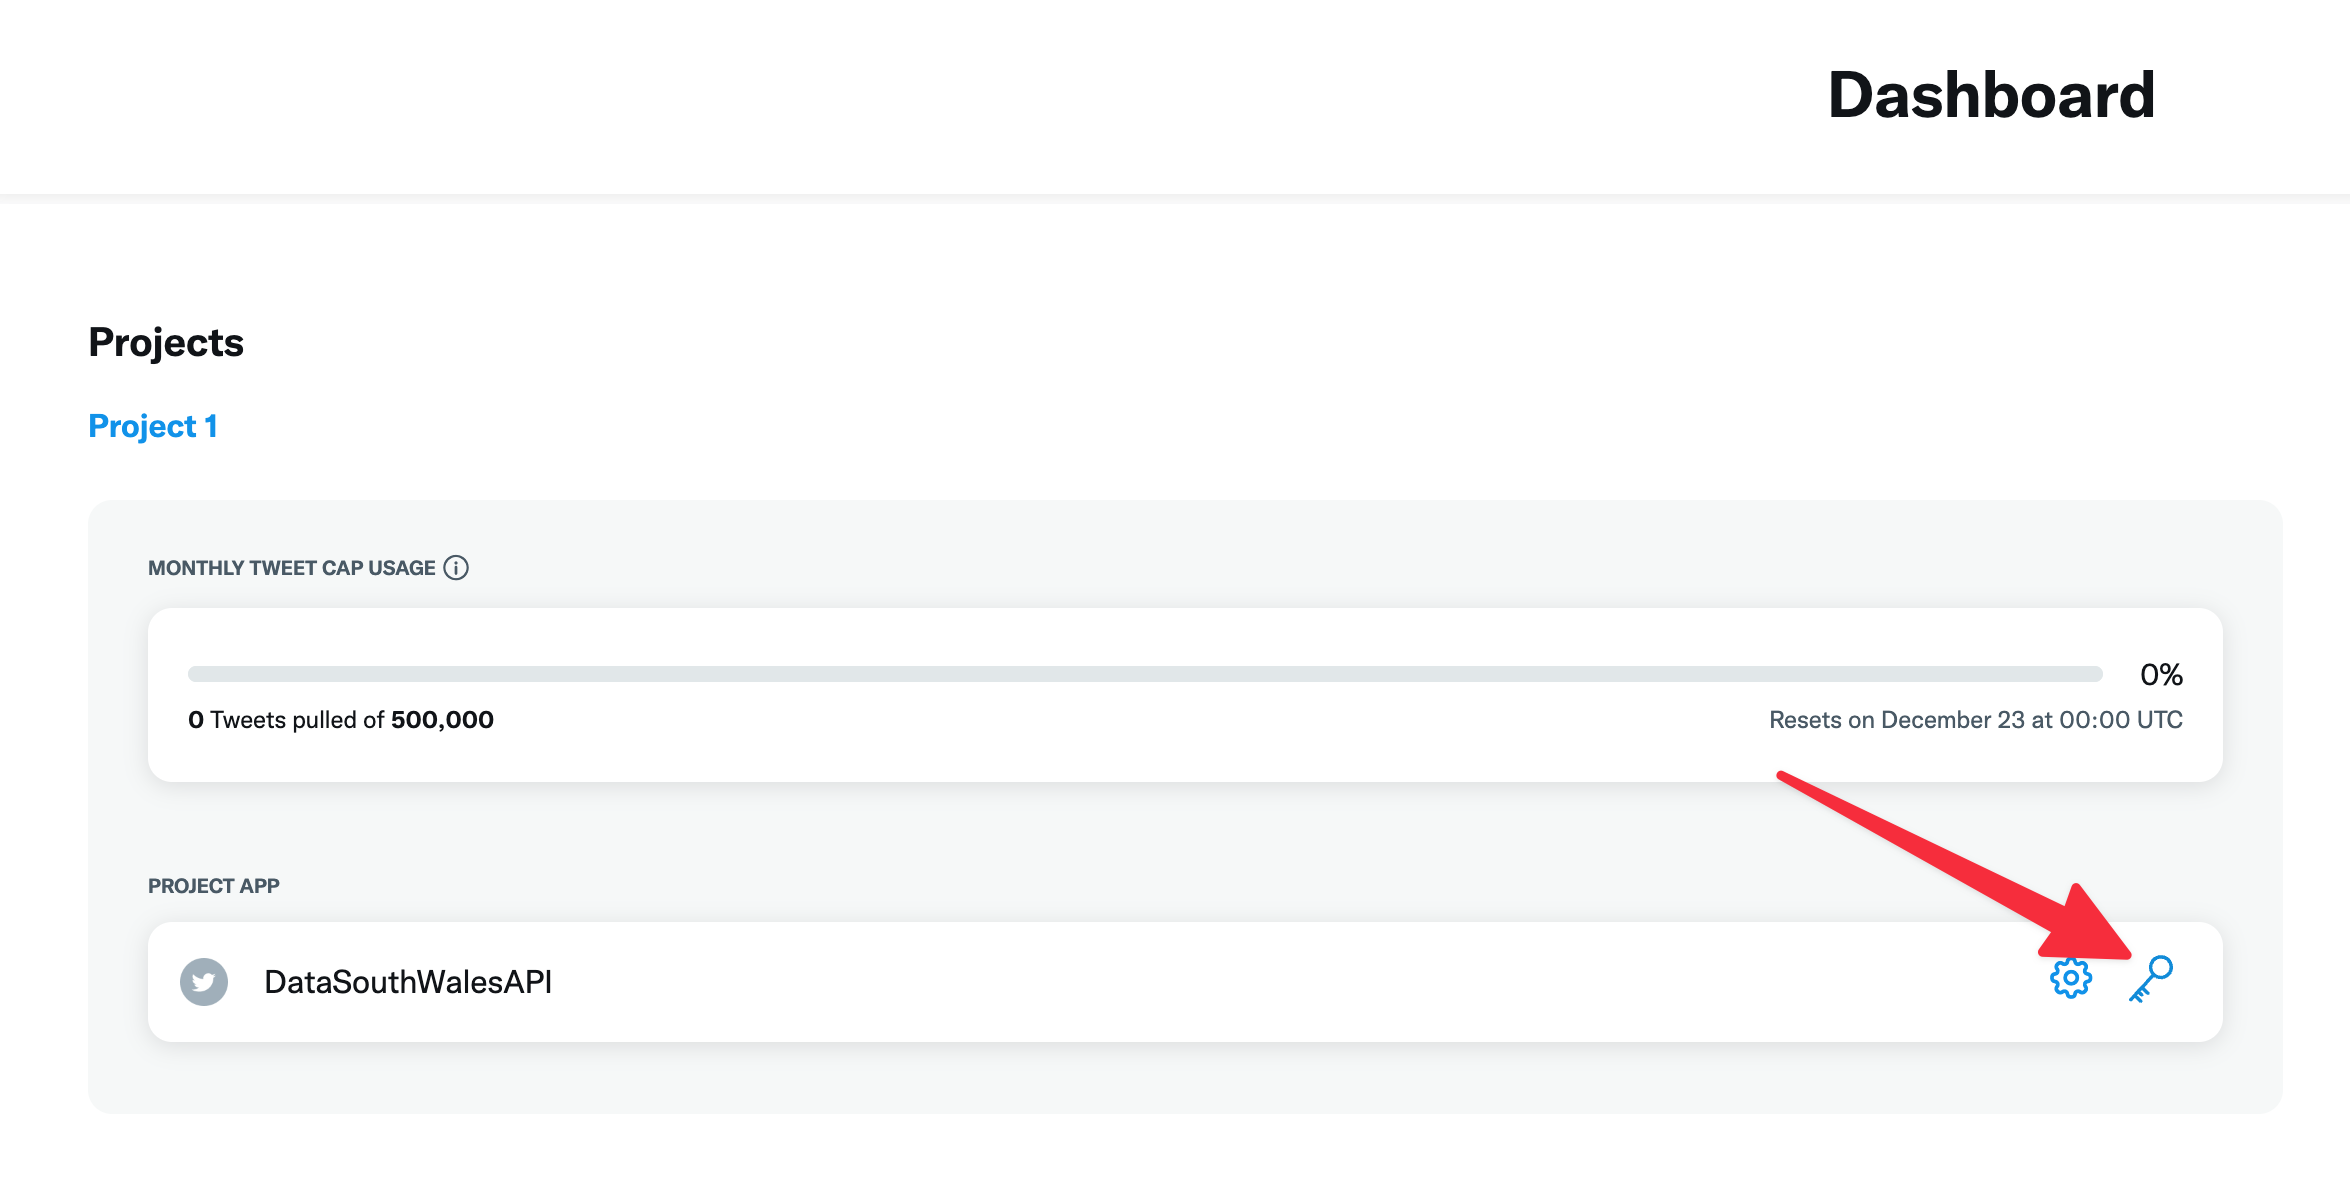
Once you’ve made a note of them, click on Dashboard. Twitter will ask you to confirm you’ve made a note of they keys. Hit yes and you will then go through to the dashboard where you can generate your access token. Next to the project you created you will see a settings cog and a key. Click on the key to generate your access token & access token secret.
you will find all of your keys presented here, make a note of the access token & access token secret.
Your work is done here, now to install the powershell module…
Install module
All remaining steps are followed the instructions described here on the BluebirdPS readme.
Install the module by running the following command;
Install-Module -Name BluebirdPS -Scope CurrentUser
Once it’s installed, you will we’ll need to set up authentication with Twitter by running the following command;
Set-TwitterAuthentication
You will be asked to enter each of the keys / secrets, paste in each value and press enter;

Once you’ve done that you should be ready. You can prove it worked by running the following command;
Get-Tweet -Id 1593559643942522880
If everything has worked, you will see info related to Chrissy’s tweet about moving to Mastodon;

That’s it
Nice and simple, more example commands can be found here .
Tags :

#mtfbwy