Using Gitalk as your Hugo comments system
- hugo
- 2021-11-02
- 5 minutes to read
This post is over 12 months old and Hugo is evolving. Please be mindful of that when reading this post as it could be outdated. I try to keep on top of changes where possible. I try to keep things up to date, but if you think something needs updating, please let me know in the comments.
2023 Update
I switched themes shortly after I wrote this article and my theme didn’t support Gitalk. I have been looking for an alternative and switched to Giscus. It was super easy to set up and uses discussions instead of issues. You can read about how I set it up here . All the links still work below if you are still interested in Gitalk but the site not longer uses it.
Not a good start Disqus
Hugo comes with Disqus commenting system built in, but I had issues with it very early on with almost the first person who attempted to comment on a post being unable to log in to comment! This feels like a pretty fundamental issue to have! I did a bit of research into Disqus and whilst the concept of it is cool it seems (at least on the surface) to be riddled with issues and this specific one seems to pop up very regularly. There doesn’t appear to be enough support either (just check the number of open issues in their forums ).
Turning to Gitalk
In my quest for a different commenting system I had a look at the various options listed on the Hugo page but all of them required too much effort for my liking or leant on skills I’d have to learn. My major requirement was to have something simple.
Next I turned to my theme itself. I am using keepit and there is a few systems made available out of the box and I warmed to Gitalk . This seems a good fit for me - it uses GitHub for comments. Perhaps it’s a bit limiting since it requires someone to actually have a GitHub account but since I am in tech and my peers are in tech it’s a fair assumption that most will have a GitHub account. Most commenting systems require some form of registration, this is good enough for me.
Minimal steps required
Since it is already built in I don’t have to do any web dev to get it up and running, just some configuration in GitHub and some parameter setting in Hugo! Let’s go!
Preparing GitHub
In order to use Gitalk you need to prepare two things;
- A public repository to store your comments
- A GitHub application that will be used to communicate with the repository
Setting up a public repository
Go here and create a new repo, make sure it’s set to public and make a note of the name. Completing this task should be straightforward enough, but if you need more info read through the docs .
Set up GitHub application
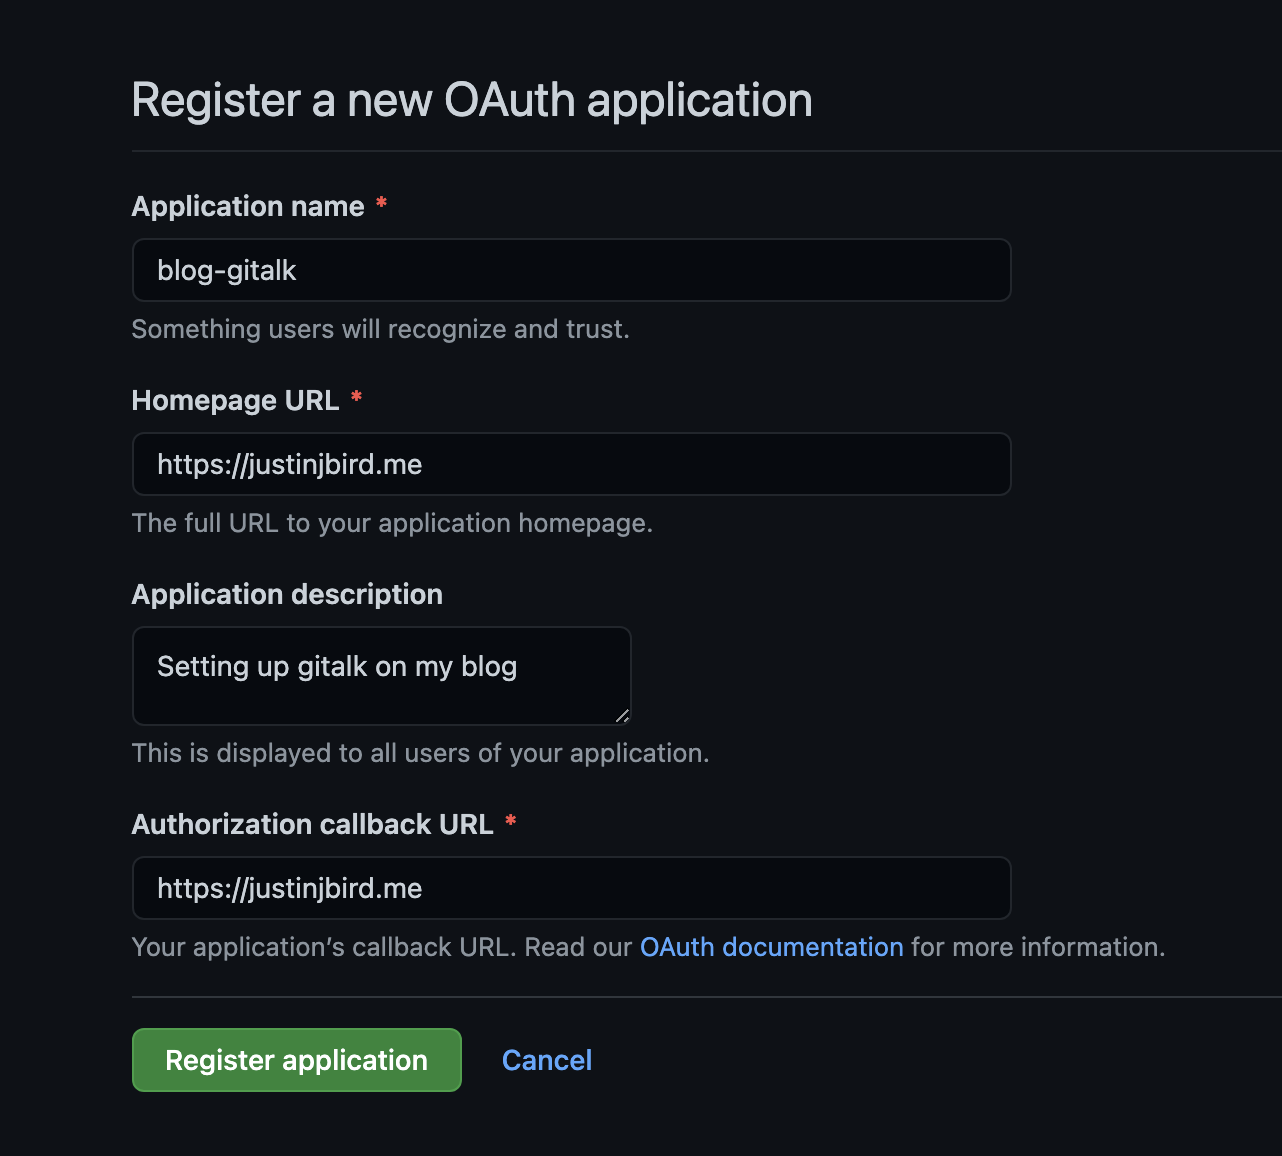
Go here to create your application. When you create the application, give it a meaningful name and ensure that both the URL and the Callback URL are your own website’s URL. Below is an example for my site;
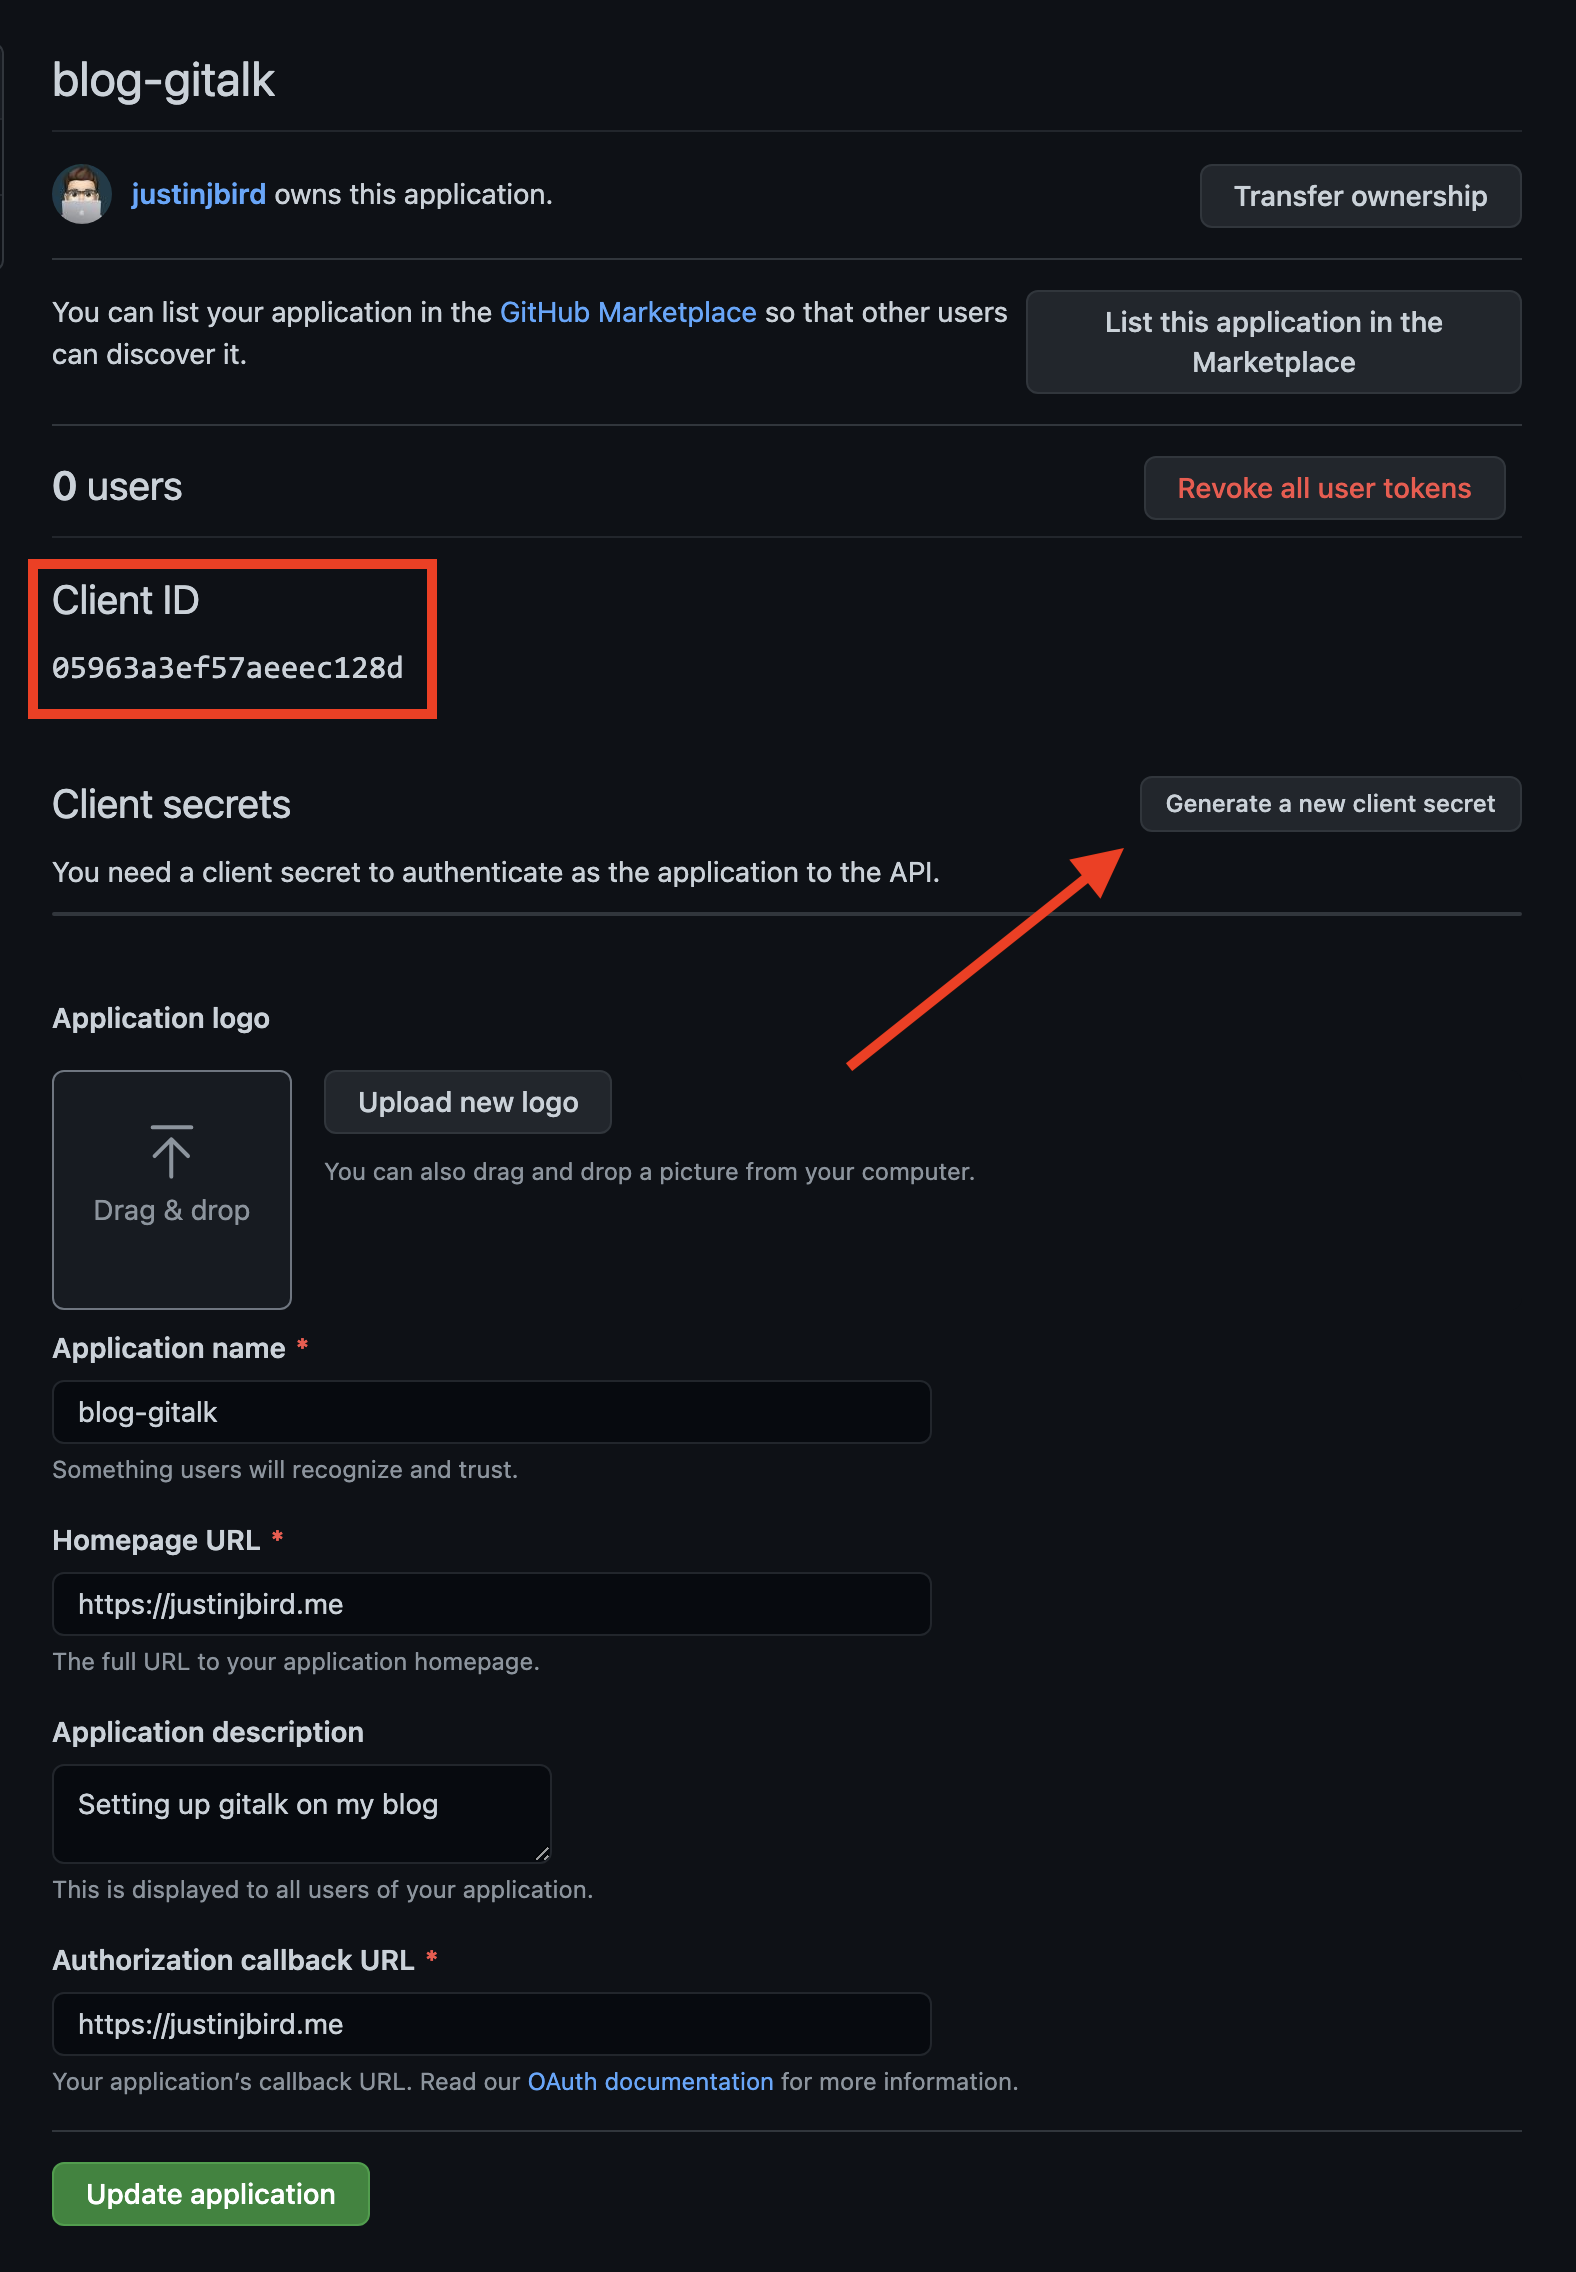
Once you hit hit register application you will be presented with a configuration page. Here you will see a client ID which you should take note of, you will need this when configuring your site. You now need to create a secret, click on the generate a new client secret button;
Once you have done this your secret will be generated. You need to make a note of this now since you cannot read it once you’ve left this page;
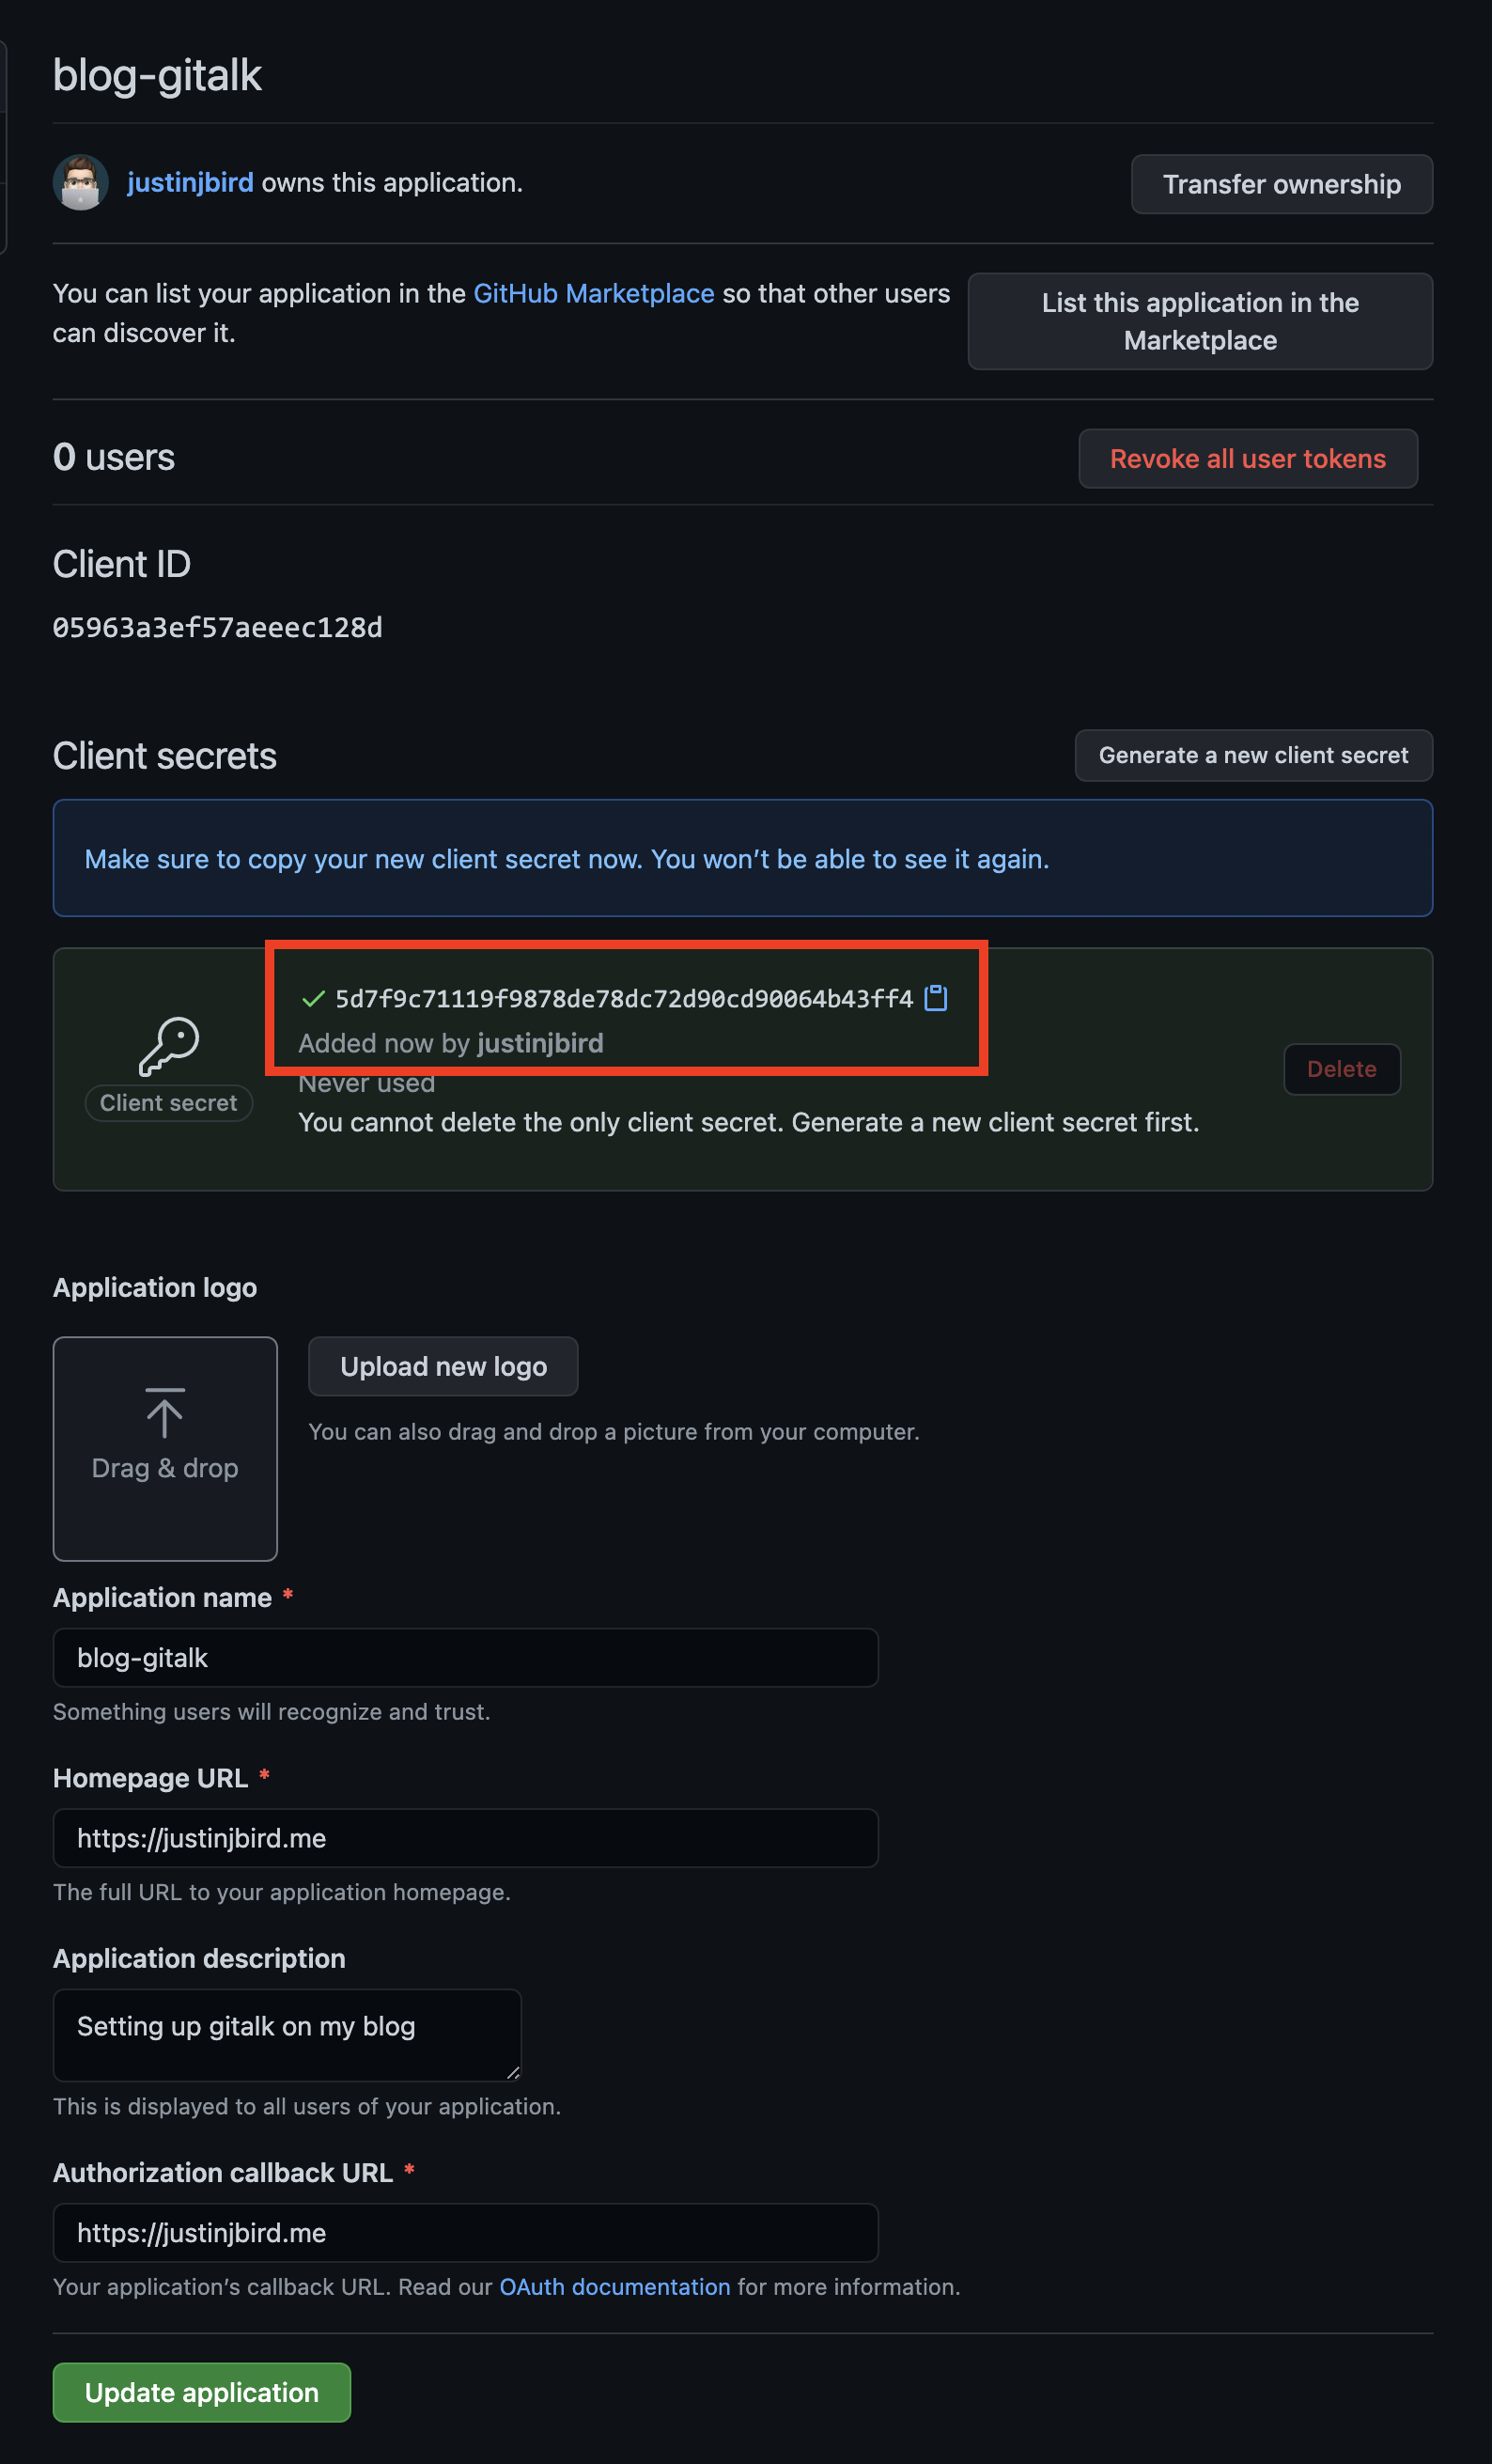
If you forget your secret you can generate new ones, but you won’t be able to retrieve existing ones! Simply hit the generate a new client secret button to create a new secret and don’t forget to make a note of it! You’re best putting both this and the client ID inside a text file temporarily since you’re going to need to copy it into Hugo config (or just leave the page open whilst you configure Hugo).
I have already cycled the secret, this one isn’t going to work just in case you thought to give it a go!
Configuring Hugo
If your theme is already set up for Gitalk then configuring it will likely follow the same process from here. Open your config.toml file, hopefully it will already have a preconfigured set of parameters. If it doesn’t, you can also check the exampleSite folder inside of your theme to see whether this config.toml file includes the parameters. From here you simply need to set the parameters accordingly;
- owner is your GitHub ID
- repo is the name of the repository you set up to store the comments
- clientId is the client ID from the GitHub application you created
- clientSecret is the secret you just generated
So based on the example screenshots above, my parameters would look like this;
[params.gitalk]
owner = "justinjbird"
repo = "site-blog-comments"
clientId = "05963a3ef57aeeec1238d"
clientSecret = "5d7f9c71119f9878de78dc72d90cd90064b43ff4"
Testing locally
If you’ve configured everything correctly, once you build your site locally, you should see a Gitalk stub similar to this;
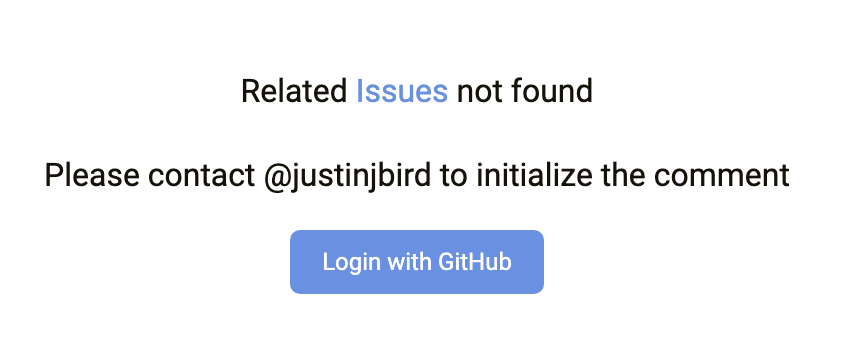
All this means is that Gitalk hasn’t found an entry for this page in your public repo. This is because you are running it locally. Once the site is published, an issue will be created and the comment block will look like this;
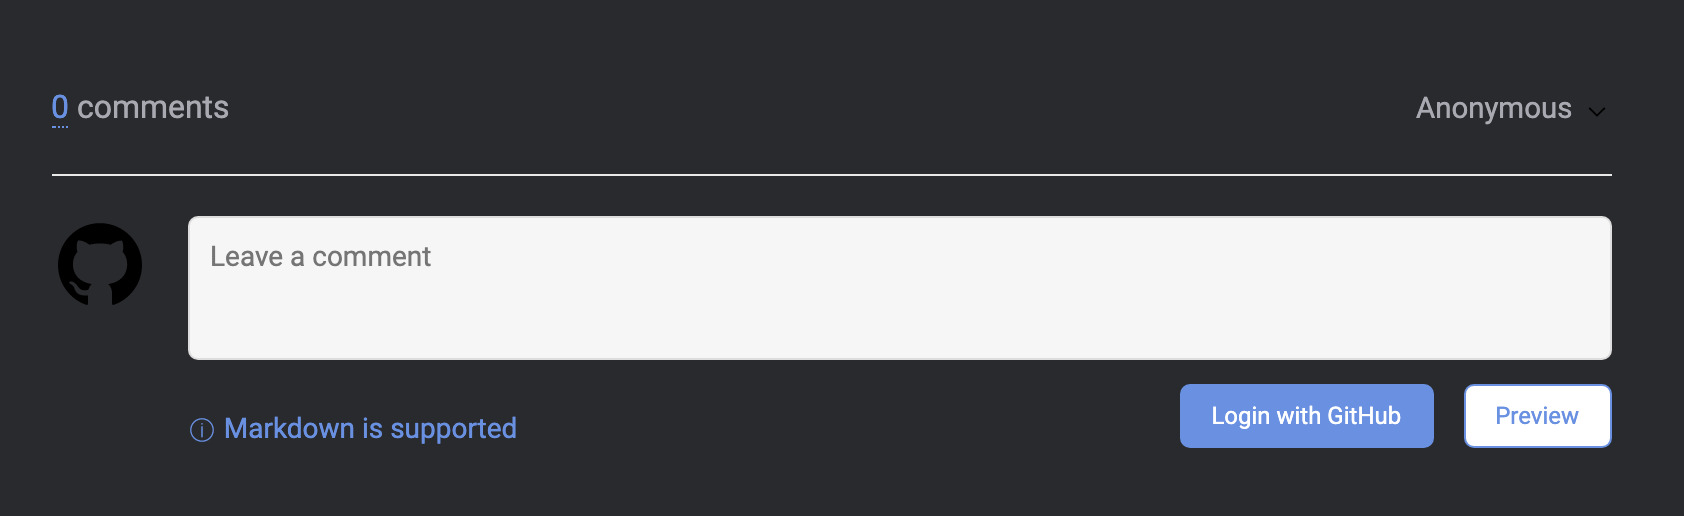
Github issues
Each page creates a github issue within your repo, the first comment is a link back to the page that created it and any additional comments become part of the issue. Pretty neat! Here is an example;
https://github.com/justinjbird/site-blog-comments/issues/5
What if theme doesn’t support Gitalk natively?
The Gitalk repo walks through the steps to configure however, I have not looked into it in too much detail because I didn’t need to! However, I will probably have a need to explore this in the future so I may end up updating this post in the coming months. If you’ve done this yourself, let me know in the comments!
Useful links
Tags :

#mtfbwy